AVAYA DOCUMENTATION CENTER
Find answers to your technical questions and learn how to use our products
Deploying Avaya IP Office Platform SSL VPN Services
Appendix B: Modifying the default AVG for SSL VPN (with screens)
After running the Quick Setup and Net Direct configuration wizards, the default configuration must be modified to support an SSL VPN connection with an IP Office system.
Perform this procedure using the AVG browser-based interface (BBI). See Avaya VPN Gateway BBI Application Guide.
Before you begin
Ensure that the default gateway configuring on AVG responds to ICMP requests. If the default gateway does not respond to ICMP requests, the AVG cannot provide VPN services.
- Log on to the AVG BBI as administrator.
- In the navigation pane on the left, select the Config tab and then .
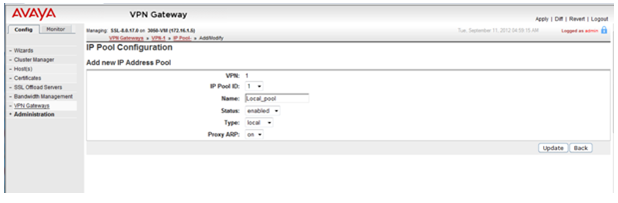
- The default VPN from the basic AVG configuration may already have a local pool. If not, you must add a local pool to the default VPN. On the Add new IP Address Pool page, add a local pool to the default VPN.
ADDITIONAL INFORMATION:
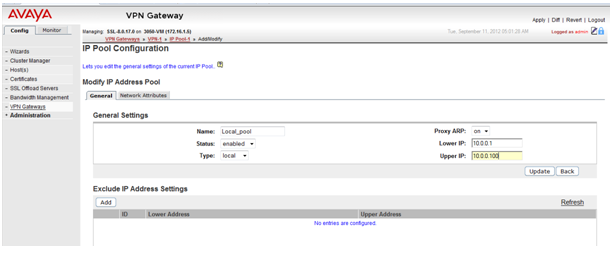
- On the Modify IP Address Pool page, verify that the values in the Lower IP and Upper IP fields match values set using the Net Direct Configuration wizard.
ADDITIONAL INFORMATION:
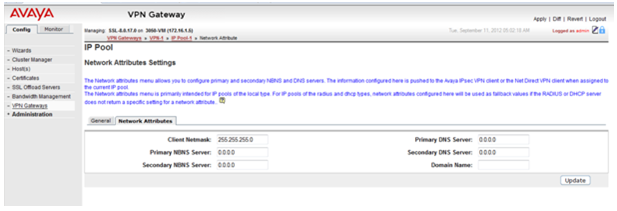
- On the page, select the Network Attributes tab and enter the values for your network.
ADDITIONAL INFORMATION:
- On the IP Pool page, set the Default IP Pool to the local poll created in step 3.
ADDITIONAL INFORMATION:
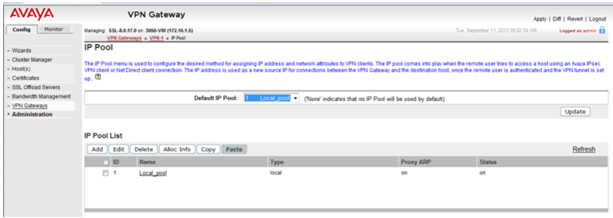
- On the Net Direct Client Access Settings page, verify the settings created by the Net Direct Configuration wizard.
- Ensure that Idle Check is set to off.
ADDITIONAL INFORMATION:
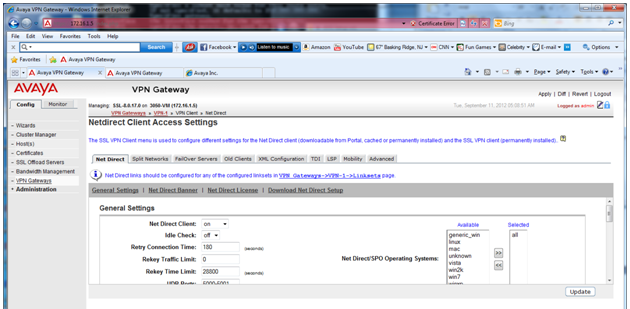
- Ensure that the Net Direct Banner is set.
ADDITIONAL INFORMATION:
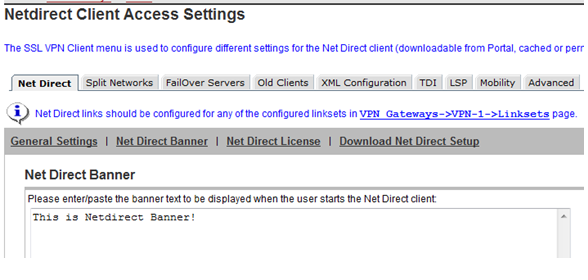
- Ensure that Idle Check is set to off.
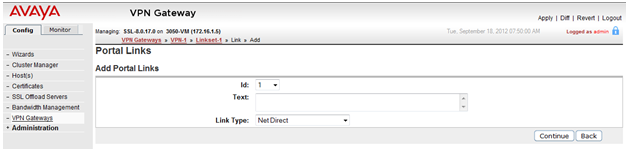
- Set the portal link for launching the Net Direct client. On the Portal Linkset Configuration page, Select the Portal Link tab. In the Link Type field, select Net Direct.
ADDITIONAL INFORMATION:
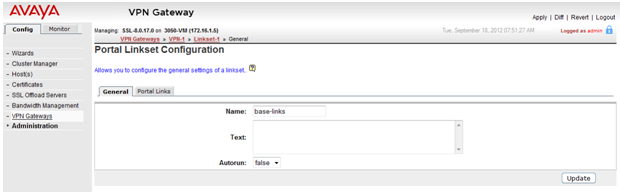
- On the Networks for Split Tunnels page:
- Set Split Tunnel Mode to enabled.
ADDITIONAL INFORMATION:
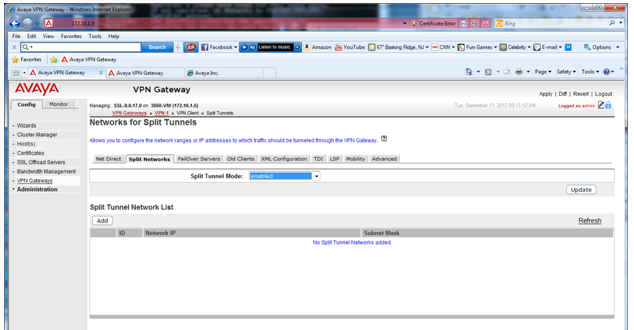
- Set the split tunneling routes to reach the service agent on the private network.
ADDITIONAL INFORMATION:
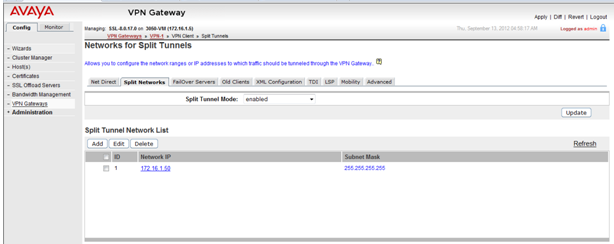
- Set Split Tunnel Mode to enabled.
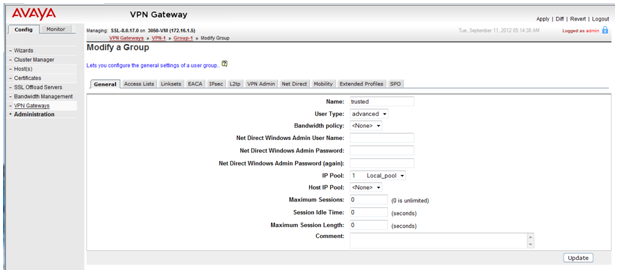
- For VPN1, go to the groups page and select Group1. On the Modify a Group page, set the IP Pool to the local pool created in step 3.
ADDITIONAL INFORMATION:
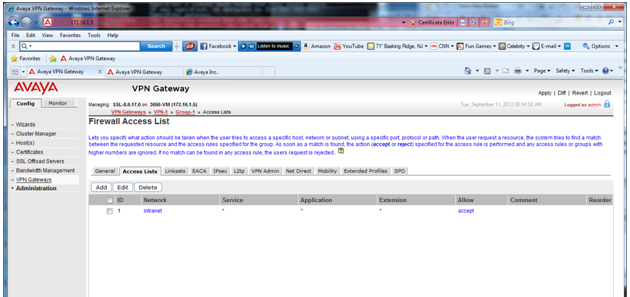
- Go to the page. On the Firewall Access List page, create an access rule if it was not created by default.
ADDITIONAL INFORMATION:
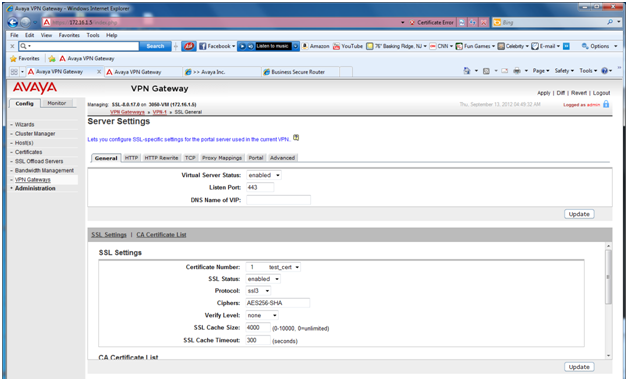
- Go to the page. On the Server Settings page, under SSL Settings set Ciphers to AES256-SHA for a strong encryption.
ADDITIONAL INFORMATION:
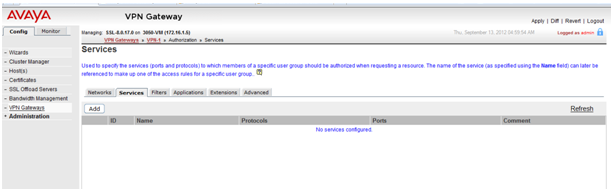
- Go to the page. Remove all the services set in the default configuration as they are not required by SSL VPN.
ADDITIONAL INFORMATION:
- Go to the page. Set the authorization network subnet that is referenced in one of the access rules that is set under .
ADDITIONAL INFORMATION:
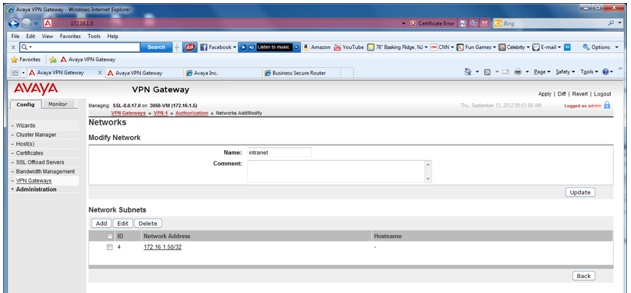 Note:This setting controls SSL VPN tunnel inter-communication. Communication is only enabled by specifying an “intranet” networks allowed list. Inter-VPN client communication is blocked by default.
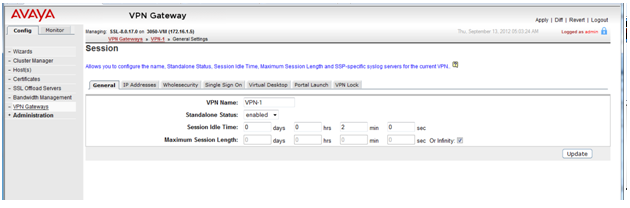
 - Go to the page. Set Session Idle Time to 2 minutes.
ADDITIONAL INFORMATION: