AVAYA DOCUMENTATION CENTER
Find answers to your technical questions and learn how to use our products
Deploying Avaya Session Border Controller on Microsoft® Azure
Creating the virtual machine
About this task
Note:
The screen examples shown in this procedure are shown to assist you using the Azure user interface. Your actual screens may differ than those shown here.
Procedure
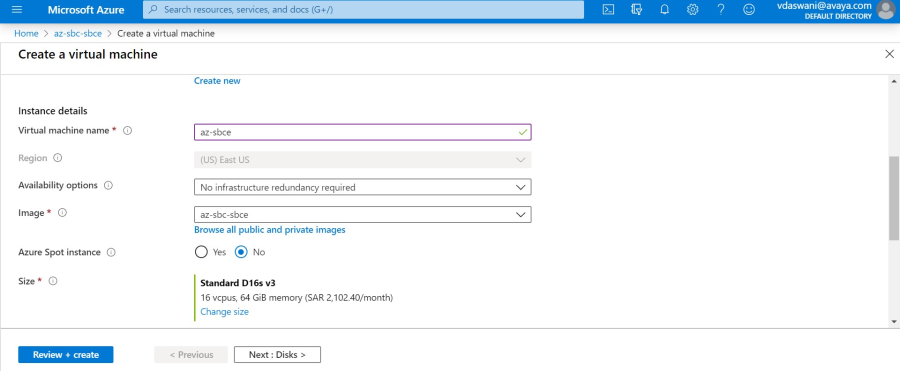
- Click Create VM.
The system displays the Create a virtual machine window.
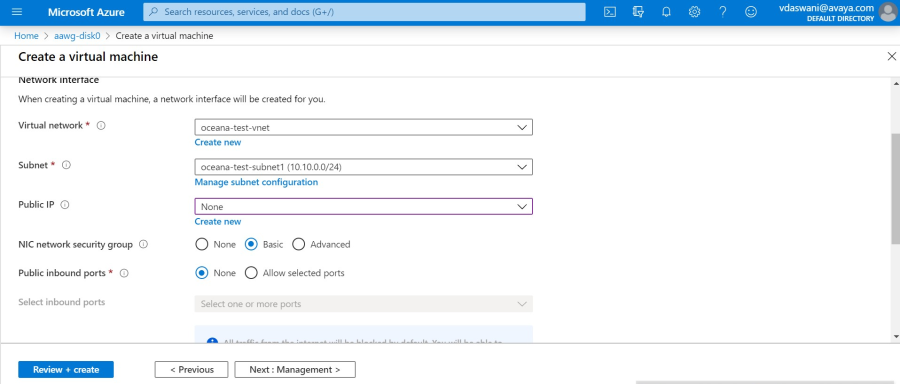
- Click Next : Network interface.
The system displays the Network Interface options window.
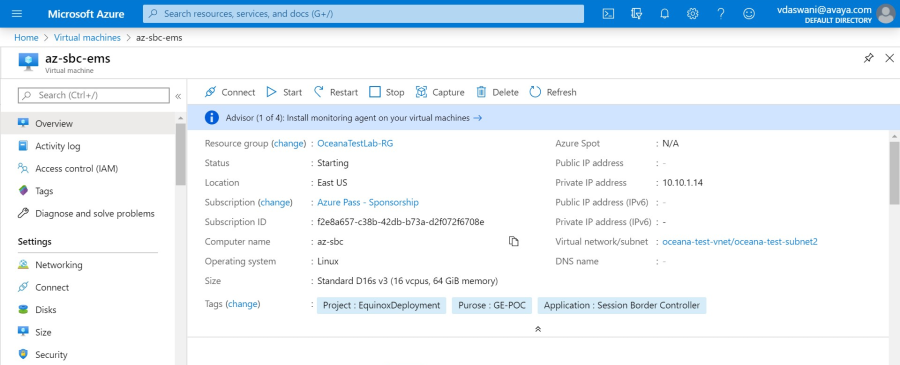
- Click Review + create.
The system displays a screen similar to the following example:
Next Steps
Verify that the following configuration items are valid:
The host name must be in the /etc/hosts file in the correct format.
The DNS server must be in the /etc/resolv.conf file.
The VMware IP address must not exist in any of these configuration files.
Verify the SSH configuration in the /etc/ssh/sshd_config file.