AVAYA DOCUMENTATION CENTER
Find answers to your technical questions and learn how to use our products
Deploying Avaya Session Border Controller on ASP 130 R6.0.x (KVM on RHEL 8.10)
Configuring EMS using CLI
About this task
Use the CLI to establish essential network settings, secure initial access, and prepare the EMS system for operation.
Before you begin
Procedure
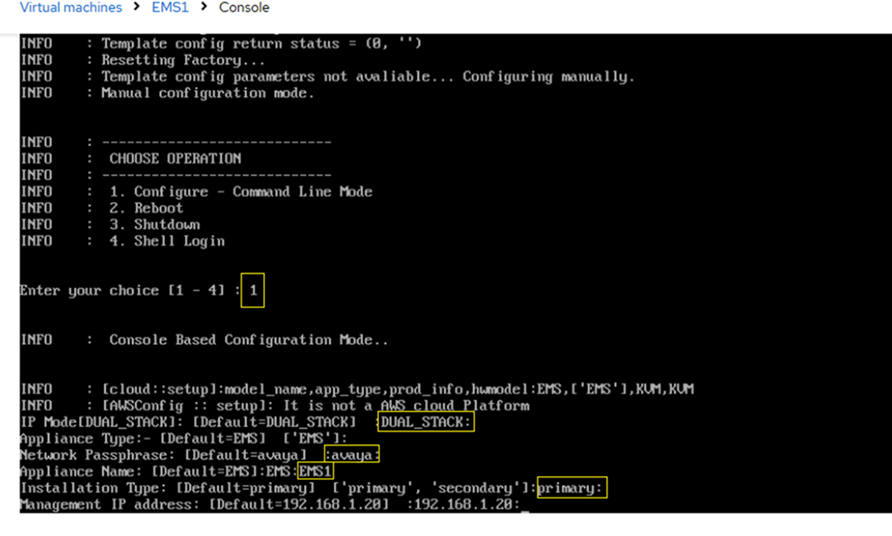
At the IP Mode prompt, press Enter to accept the default value DUAL_STACK.
At the Appliance Type prompt, press Enter to accept the default value EMS.
At the Network Passphrase prompt, press Enter to accept the default value avaya.
At the Appliance Name prompt, enter the name of the SBC EMS VM.
At the Installation Type prompt, select the required installation type and press Enter.
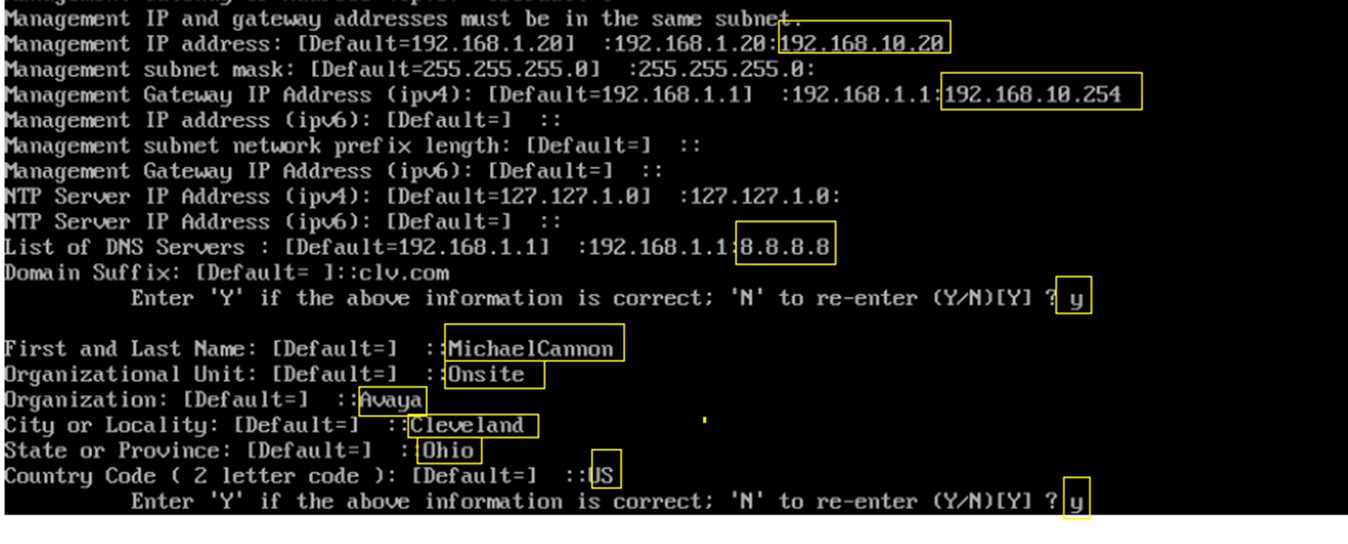
At the Management IP address prompt, enter 192.168.10.20.
At the Management Gateway IP Address (ipv4) prompt, enter 192.168.10.254.
At the List of DNS Servers prompt, enter 8.8.8.8.
At the confirmation prompt, enter Y to confirm the information.
First and Last Name
Organizational Unit
Organization
City or Locality
State or Province
Country Code (2 letter code)
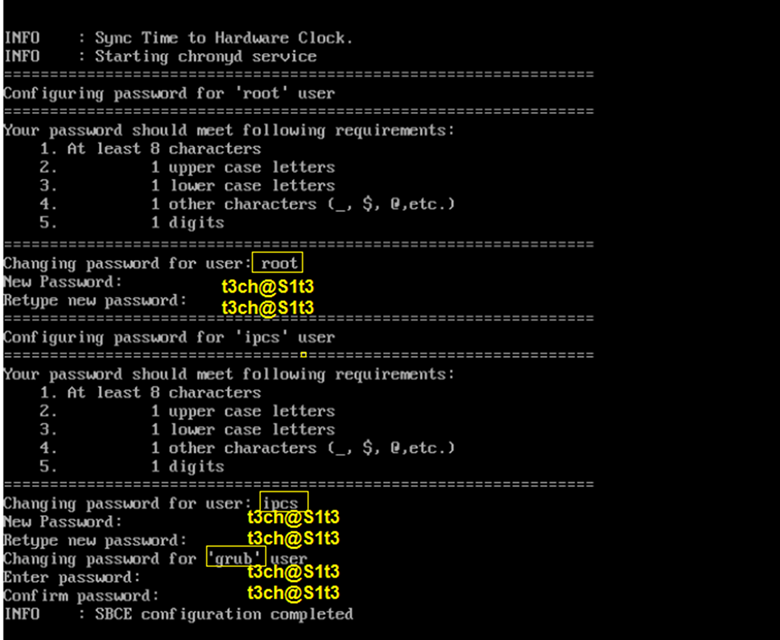
- Configure passwords for
rootandipsecusers.Note:Use a unique, secure password that complies with the your organization's security policies. The displayed password is for illustration only.
Next Steps
After the initial EMS deployment for R10.2.1 is complete, you can deploy the first SBC instance using the same qcow2 thin image file. You can deploy up to 24 single or 12 paired instances of SBC VMs.