AVAYA DOCUMENTATION CENTER
Find answers to your technical questions and learn how to use our products
Administering Avaya Experience Platform for supervisors
Upgrade process
Pre upgrade considerations
Here is some stuff to add and change.
Para for reuse
Avaya Products
Set up the call server for uninterrupted call flow, see Basic call handling.
gdfgdgdNew Avaya Product
Para 1 reused.
Field |
Desc |
Notes |
|---|---|---|
Name |
Serv-Geo |
ytyt |
Cust ID |
Serv-1234 |
yuyi |
Address |
124–456–66 |
uuiu |
Configuring out of band management
About this task
This is all about this task System ManagerAvaya Aura® Session Manager.
 |
 |
|---|---|
We use Content Management System from , where the content is created and published.
Procedure
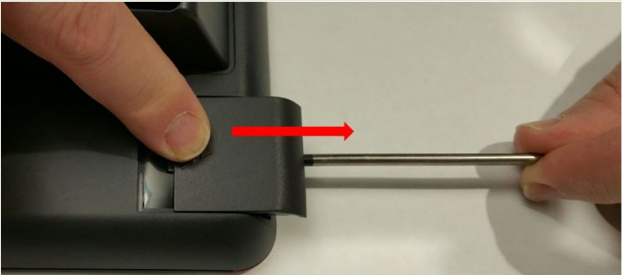
- Insert the screw driver in the opening of the module panel to release the latch. Do not pry open the panel.
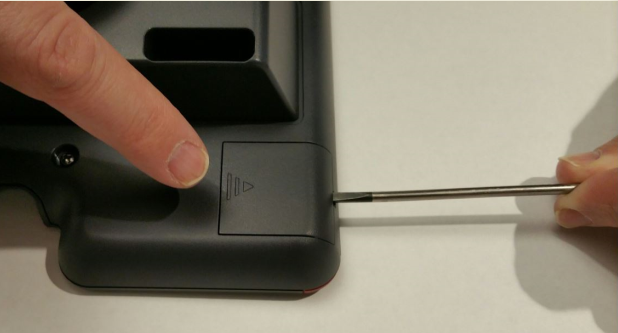
- To remove the module panel, slide the panel out in the direction of the arrow.