

AVAYA DOCUMENTATION CENTER
Find answers to your technical questions and learn how to use our products
Upgrading Avaya Breeze® platform
Deploying Avaya Breeze® platform OVA with VMware vSphere Client connected to ESXi host
Before you begin
The steps in this procedure use the VMware vSphere Client connected to the ESXi host.
-
Save the Avaya Breeze® platform OVA file onto the workstation running the vSphere Client.
- Log in to the VMware host using the VMware vSphere client.
- Click
- Click Browse and find the Avaya Breeze® platform OVA.
- Click Next.
- Verify that the details displayed match the version of the Avaya Breeze® platform that you are expecting to deploy.
-
If the details do not match, you may have chosen the wrong OVA. Click Back and find the correct OVA.
-
If the details do match, click Next.
-
- If you accept the End User License Agreement, click Accept and then click Next.
- Enter a name for the Avaya Breeze® platform Virtual Machine (VM) on the Name and Location page and click Next.
- On the Deployment Configuration page, select the configuration profile that best fits the deployment and click Next.
- On the Disk Format page, select the disk provisioning format you want and click Next.
ADDITIONAL INFORMATION:While Avaya Breeze® platform works with either thick or thin provisioned disk, Avaya recommends using a Thick Provision Lazy Zeroed disk.
- On the Network Mapping page, select the destination network for each Avaya Breeze® platform interface, then click Next.
- On the Ready to Complete page, verify the options listed.
-
If the values are incorrect, click Back to modify the values.
-
If the values are correct, click Finish.
STEP RESULT: -
- A status window pops up after clicking Finish. Wait for the deployment to complete. The time this takes depends on the speed of your network connection. After completing, close the window.
- Locate your new VM in the inventory list in the vSphere Client window.
- Right-click to go to .
- To open a console window to your VM, right-click the VM and click Open Console.
- During the boot, you will see the End User License Agreement. Scroll down through this document using the spacebar. At the bottom, enter yes if you agree to the terms.
- When prompted to configure the virtual machine enter y.
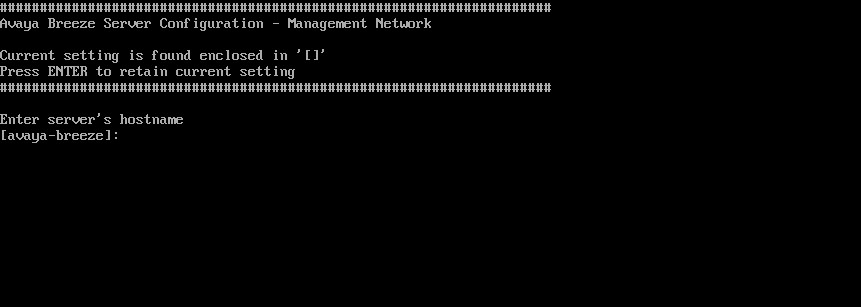
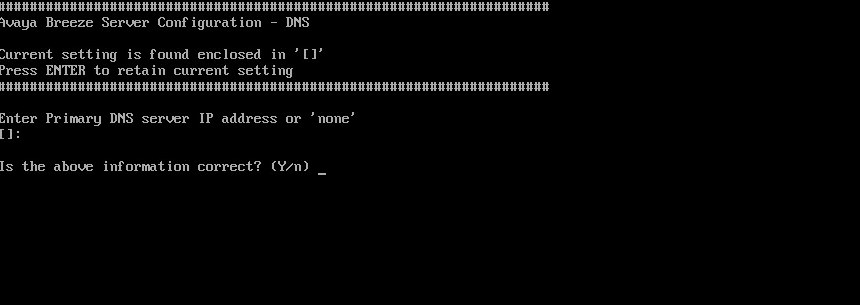
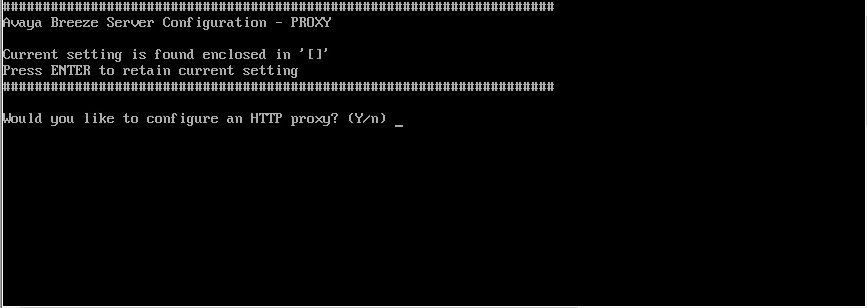
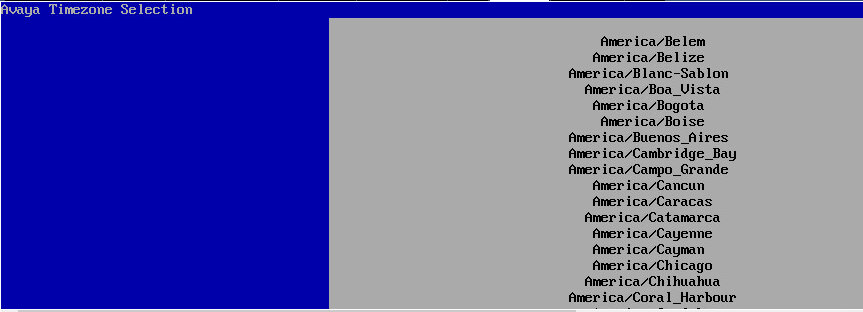
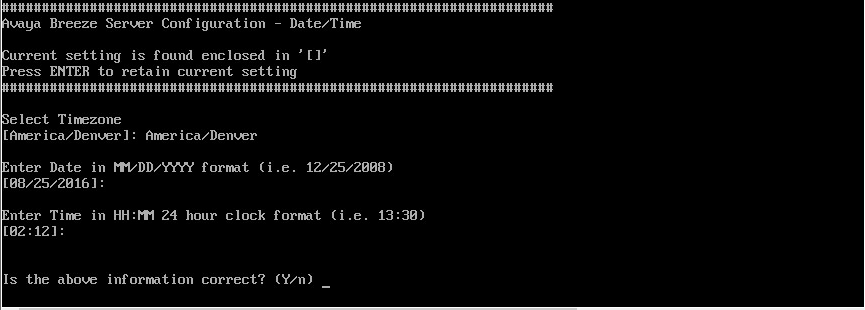
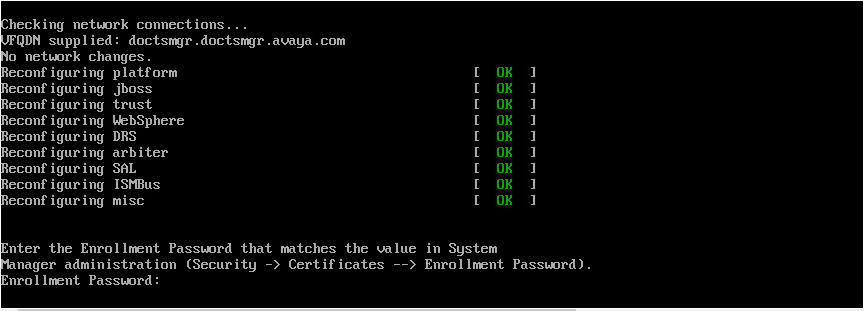
- Enter the management interface network parameters, date and time information, customer user information, and System Manager information.
ADDITIONAL INFORMATION:Refer to the following screenshots.
- Run the CEnetSetup command to change the value of any OVA property specified during deployment.