Validating a Virtual Machine Backup (clone)

Last Updated : Jun 10, 2026 |

Procedure

  1. Login to the Avaya Solutions Platform R6.0.x Command Line Interface (CLI) as custadm.
  2. Run the following command to validate the backup (clone):

    sudo virsh list --all

    Example output:

    [custadm@asp130-r660xs-a31p ~]# sudo virsh list --all
    
    Id      Name                            State9
    ------------------------------------------------------------
    1       8HDD-RHEL-810-Fiotester2        running
    2       8HDD-RHEL810-Fiotester1         running
    -       8HDD-RHEL-810-Fiotester3        shut off
    -       8HDD-RHEL-810-Fiotester3-Clone  shut off
    -       8HDD-RHEL-810-Fiotester3-clone  shut off
    -       Agent_Testing                   shut off
    -       Agent_Testing-Clone             shut off
    -       Agent_Testing2                  shut off
    -       Agent_Testing3                  shut off 
    -       Agent_Testing3-clone            shut off  

    In this example, the virtual machine Agent_Testing3-clone is the cloned virtual machine.

  3. Confirm that the clone is thick provisioned by running the following command on the clone and ensuring that the virtual size is the same as the disk size:

    cd /var/lib/libvirt/images

    sudo qemu-img info <clone name>

    Example output:

    cd /var/lib/libvirt/images

    sudo qemu-img info Agent_Testing3-clone.qcow2

    image: Agent_Testing3-clone.qcow2

    file format: qcow2

    virtual size: 50 GiB (53687091200 bytes)

    disk size: 50 GiB

    cluster_size: 65536

    Format specific information:

    compat: 1.1

    compression type: zlib

    lazy refcounts: true

    refcount bits: 16

    corrupt: false

    extended l2: false

  4. Run the following command to ensure that the virtual machine is cloned with the same disk name that is provided during the backup (clone):

    sudo virsh domblklist <cloned VM name>_8_1

    For example, the output of the command appears as follows:

    hda /var/lib/libvirt/images/RHEL810-fiotester2.qcow2

  5. Log in to the KVM Cockpit web console as custadm in the following format: https://<IP address or FQDN of KVM host>:9090.
  6. For administration actions, on the top-right of the window, click on the Limited access button.
    Figure : 1. Limited access button


    Note:

    You require administrator access in order to view virtual machines. Administrator access is like root access. Ensure that you take care making updates.

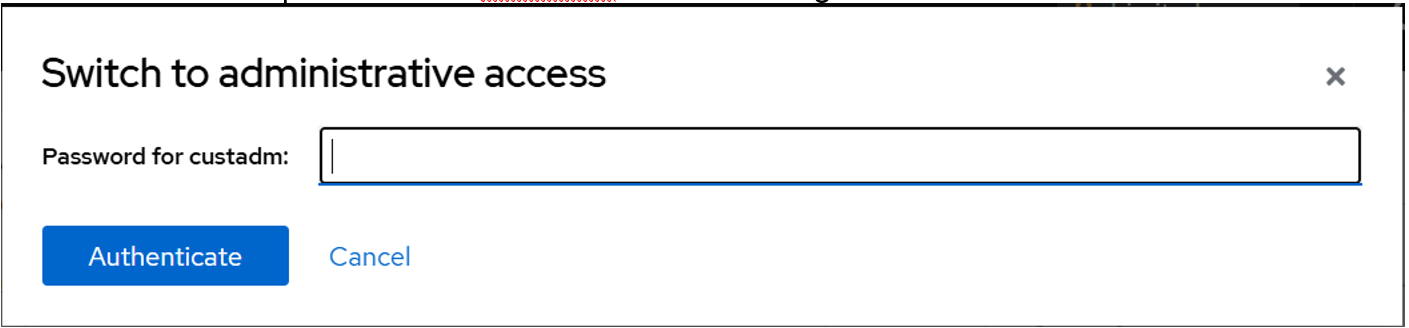
  7. In the Switch to administrative access window, enter the password for custadm.
    Figure : 2. Switch to administrative access


    The Limited access button on the top-right of the window changes to Administrative access.

    Figure : 3. Administrative access button


  8. Navigate to System > Virtual Machines.
  9. View the cloned virtual machine in the virtual machines list.
    Figure : 4. Virtual machines list


    Virtual machines list