AVAYA DOCUMENTATION CENTER
Find answers to your technical questions and learn how to use our products
Installing the Avaya Solutions Platform 130 Series
Adding the CA root certificate to Firefox
About this task
Use this procedure to install on every client PC the CA root certificate provided by an organizational or external CA.
In this procedure the Avaya Aura® System Manager root certificate is used. Customers using an external CA or a Microsoft CA can skip steps 1 through 5 and proceed with the root certificate installation.
Note:
Certificates signed by a trusted, reputable Certificate Authority may not require installing root certificate on every client (PC) web browser. Consult with CA vendor.
For browsers not listed in this section, refer to each browser vendor documentation to import CRT certificates.
Users (Client PC) with other OS apart from Windows such as Mac OS, RedHat, or CentOS, should refer to each vendor OS documentation to properly install CA root certificates.
Before you begin
Customers using an External CA or Microsoft CA, should have by now the root certificate provided by the CA in CRT format.
Procedure
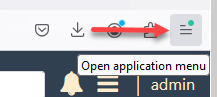
- Click on the 3 lines icon in the browser upper-right corner and select Settings.
- In the Find in Settings field type in Certificate and click on View Certificates...

- Under the Authorities tab, click on Import....

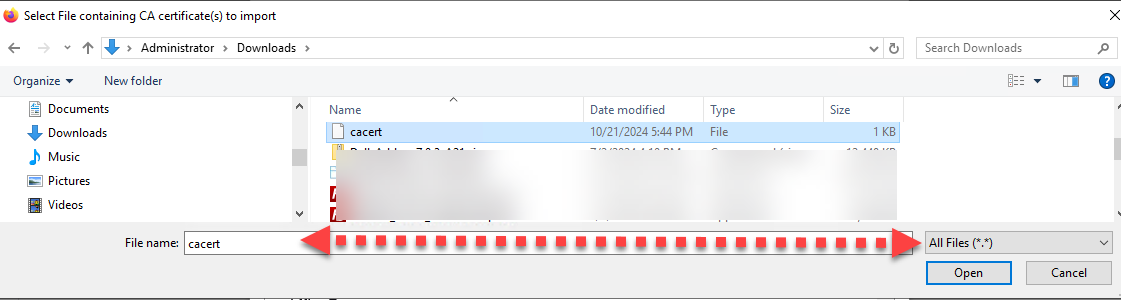
- Browse to the location where the cacert file was previously downloaded, for exampledownloads on the local PC, and change from the drop-down menu the file type to All Files (*.*). Select the cacert file and click Open.
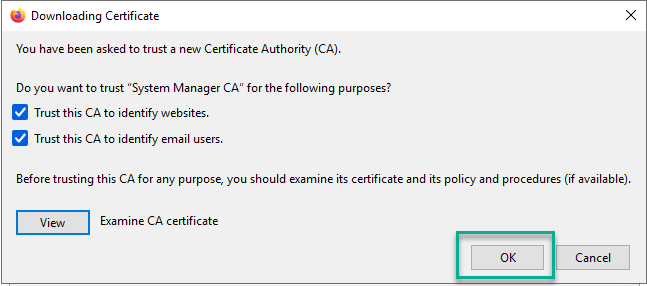
- Check both selections and click OK.
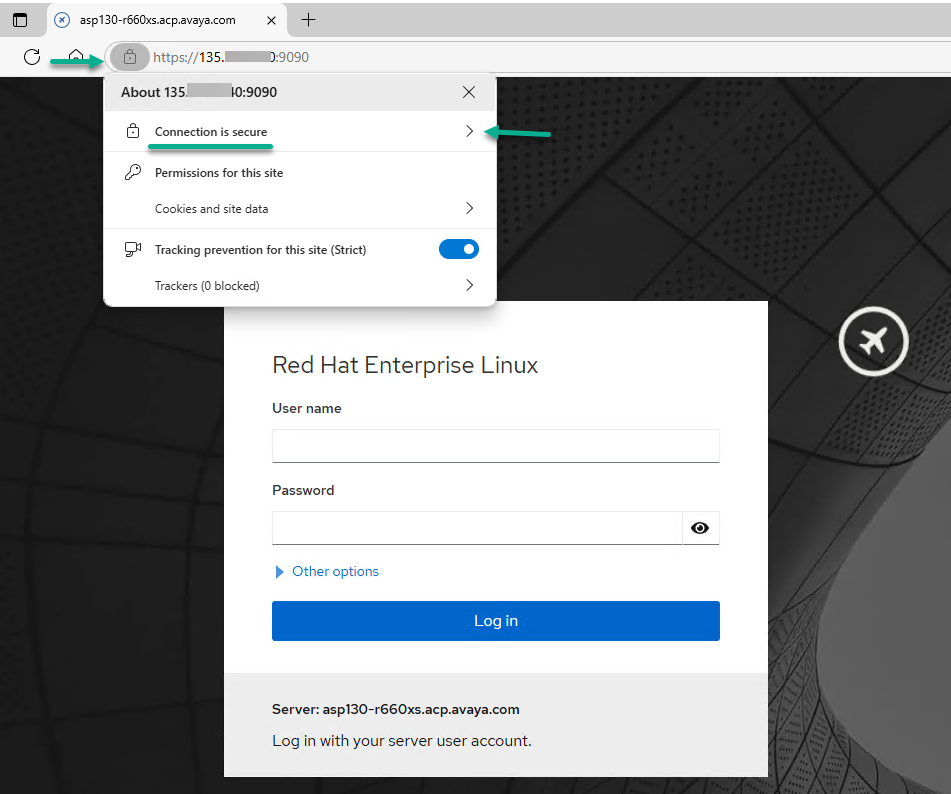
- Open a new Web browser to the corresponding KVM on RHEL 8.10 cockpit by either using the FQDN or IP Address, for examplehttps://<cockpit-ip>:9090.
Note:
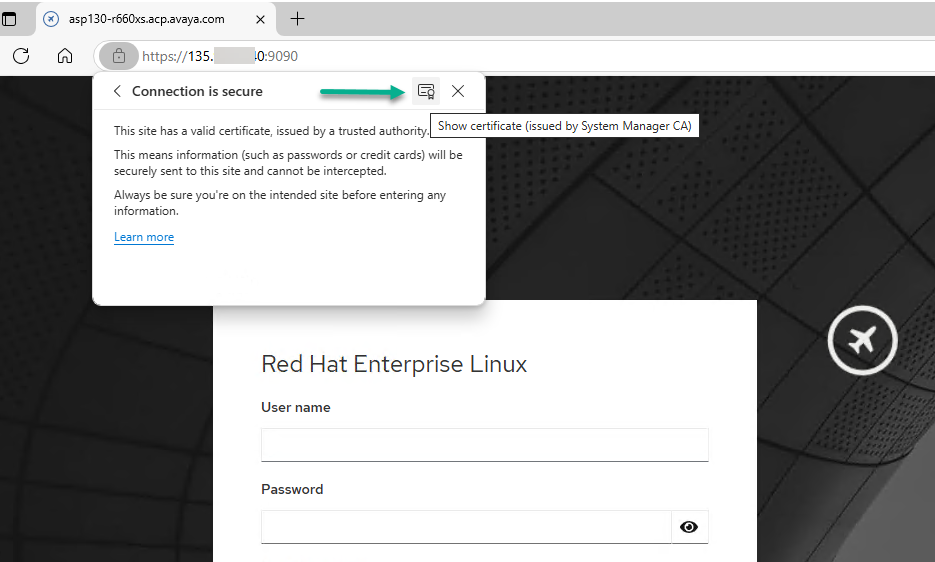
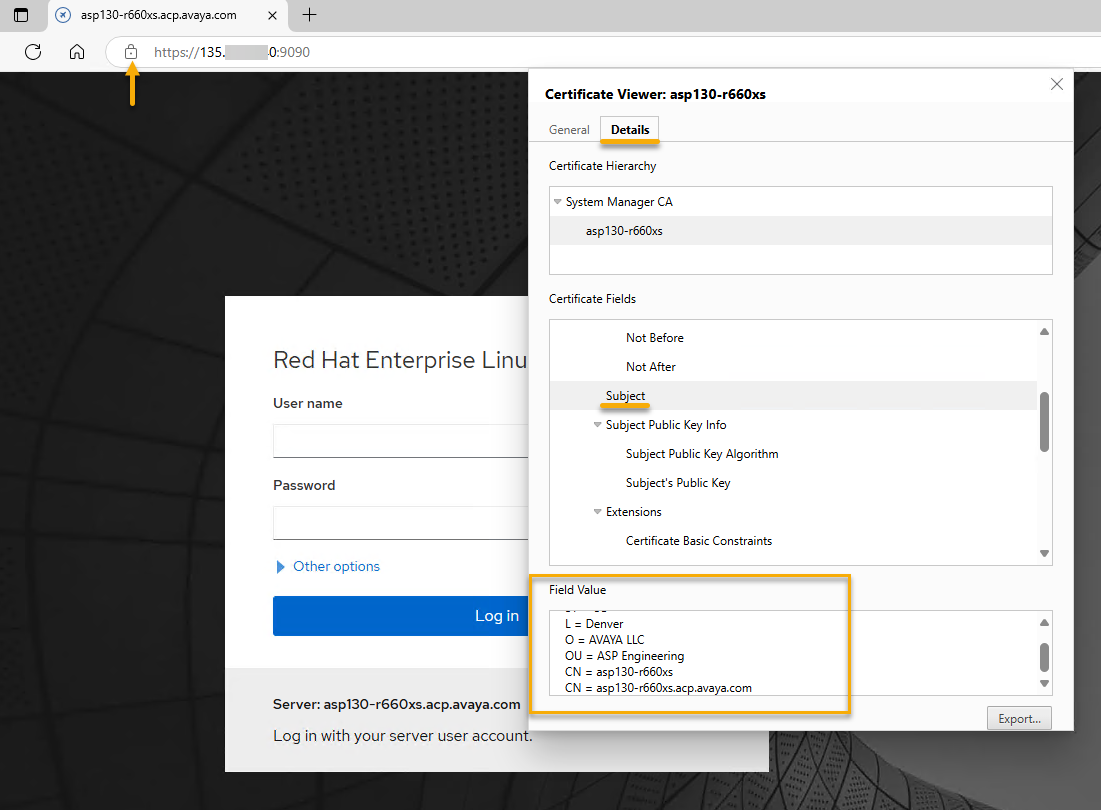
Connection at this point will show as secure. You can also click on Certificate to review the certificate information.
The example screens below may vary depending on the browser. Use as reference only.