AVAYA DOCUMENTATION CENTER
Find answers to your technical questions and learn how to use our products
Installing the Avaya Solutions Platform 130 Series
Collecting an iDRAC Support Assist file
About this task
When there is an issue with the ASP 130 server a Support Assist file may need to be generated for debugging purposes. When opening a service request with Avaya this file may be required.
Before you begin
iDRAC should be enabled and network settings configured accordingly.
iDRAC should be reachable over the customer’s network or an on-site resource available for direct connect to the iDRAC.
Procedure
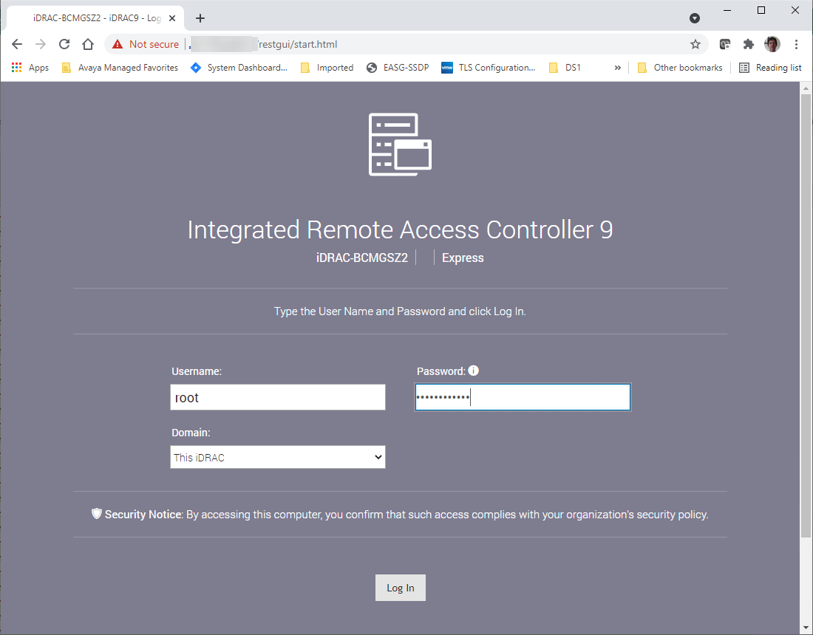
- Open a browser and login to the iDRAC web interface using the root or equivalent account:
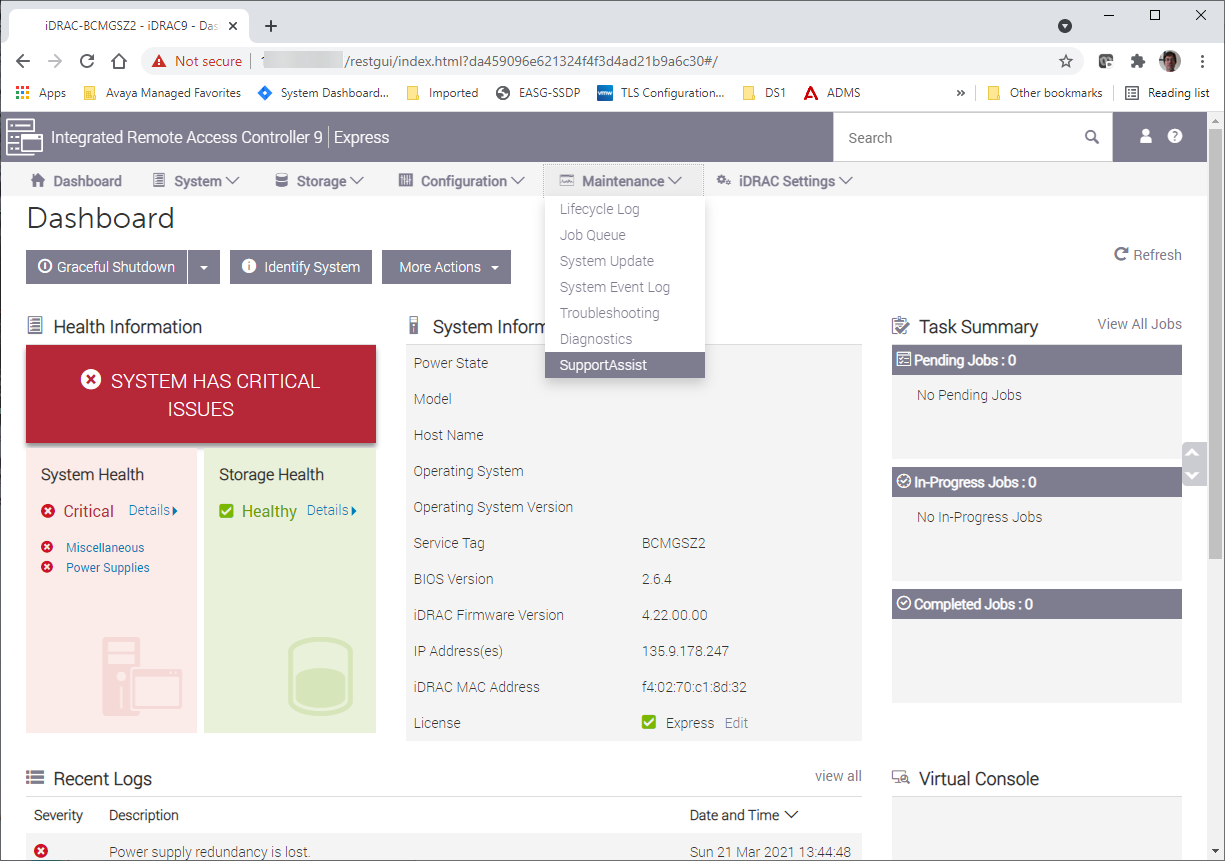
- Select from the main screen:
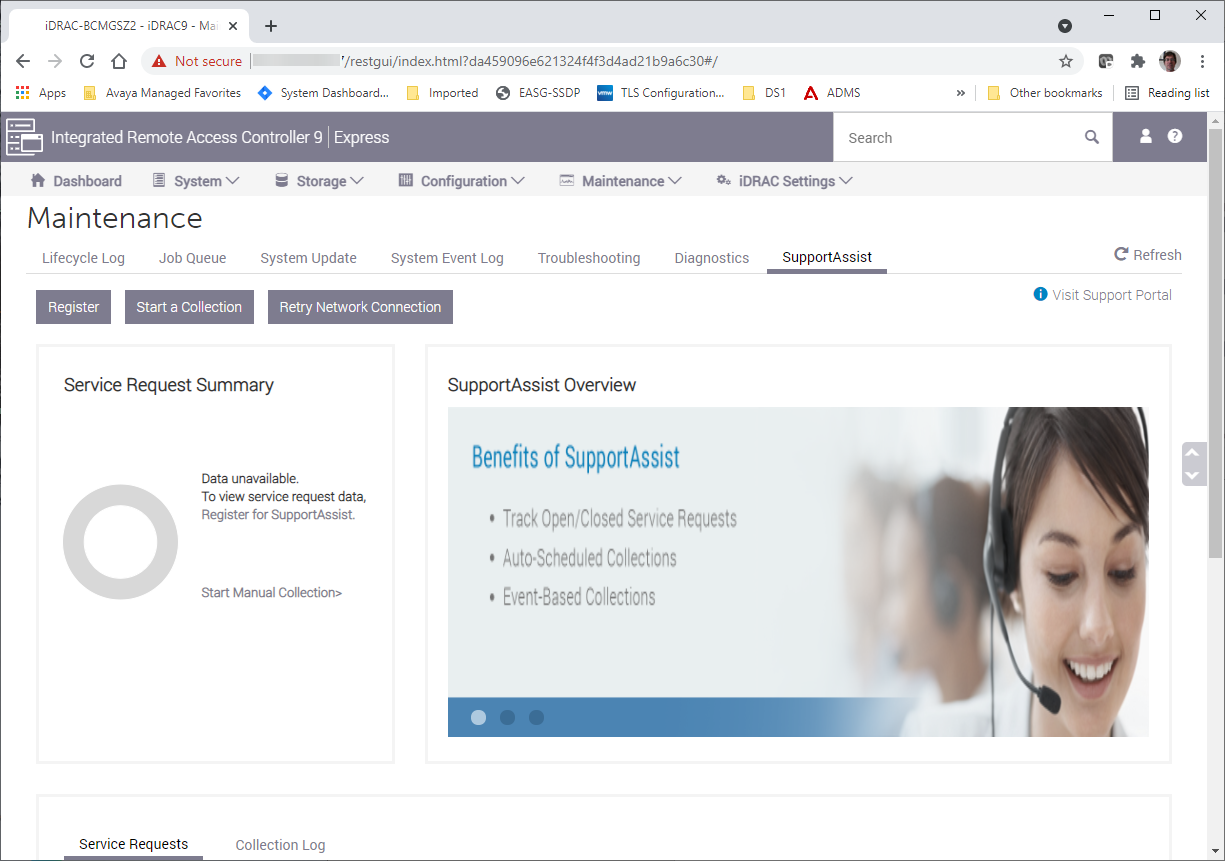
- In the SupportAssist screen, select Start a Collection:
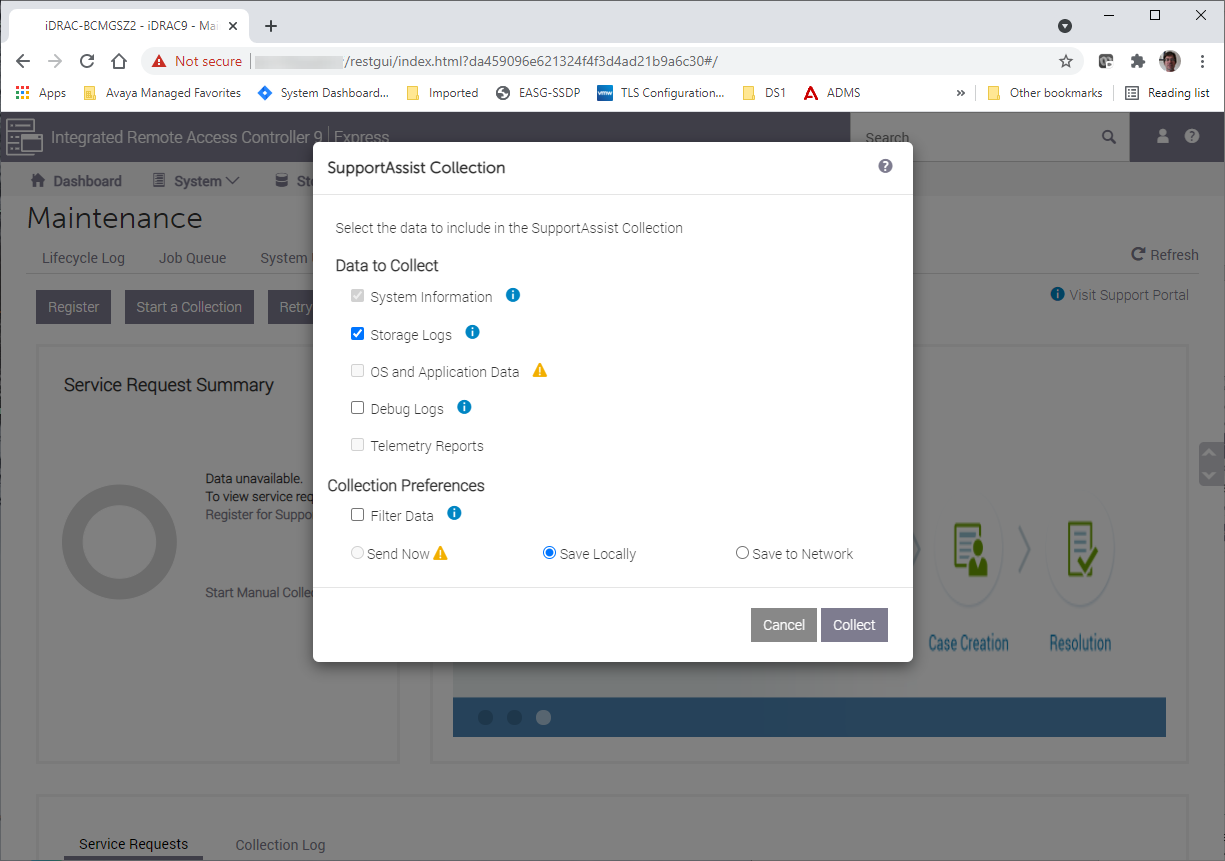
- In the Collection pop-up, keep the defaults of System Information and Storage Logs and save locally unless instructed otherwise by Avaya support. Then click on the Collect button.
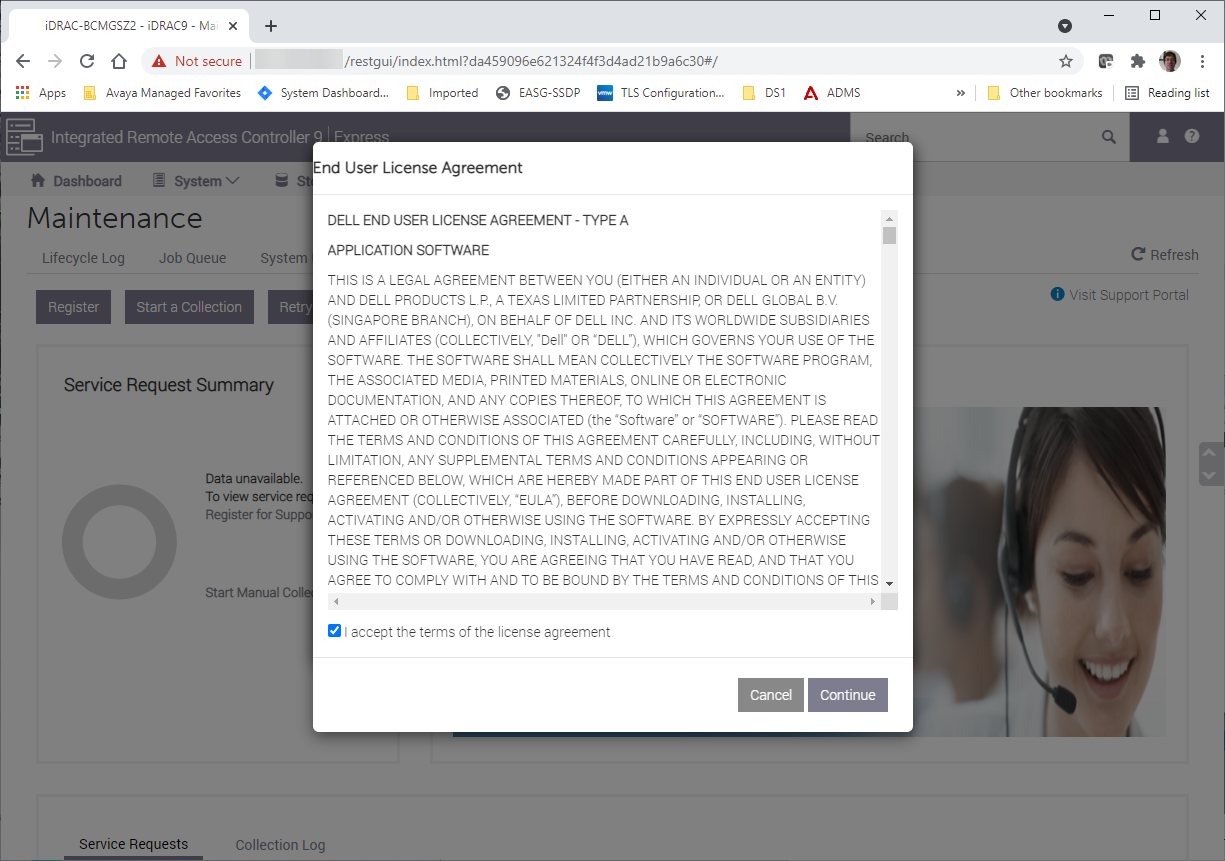
- Accept the terms of the License Agreement and click Continue:
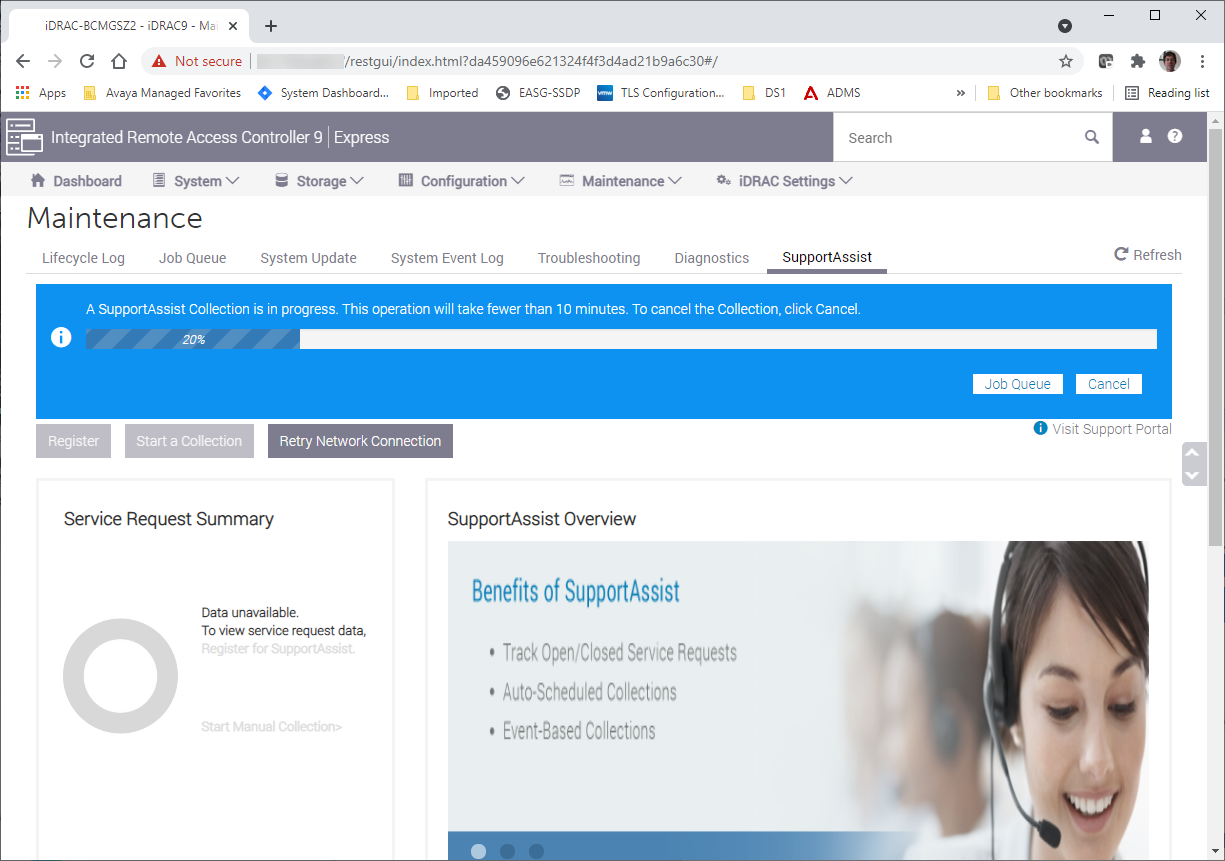
- This will start the collection and show the progress of the data collection:
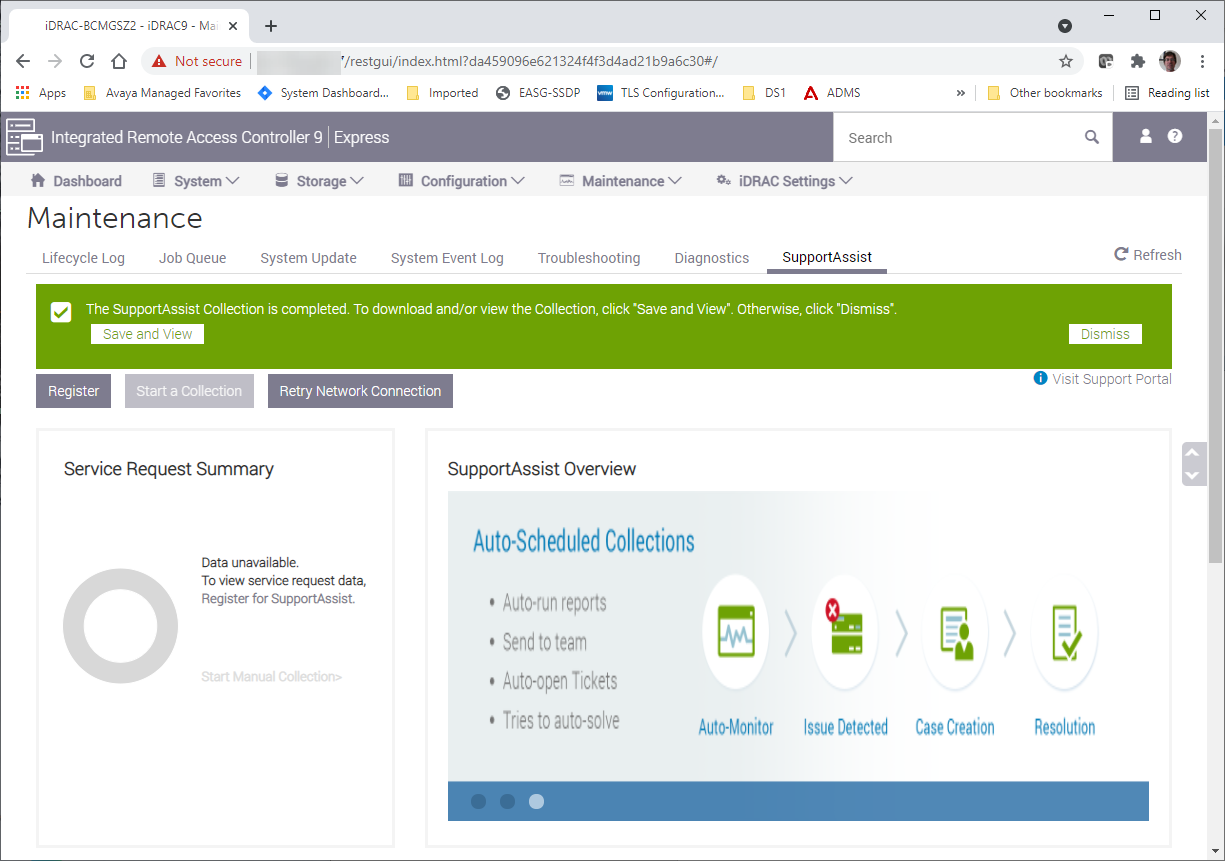
- When completed you can save the file to your PC – select Save and View:
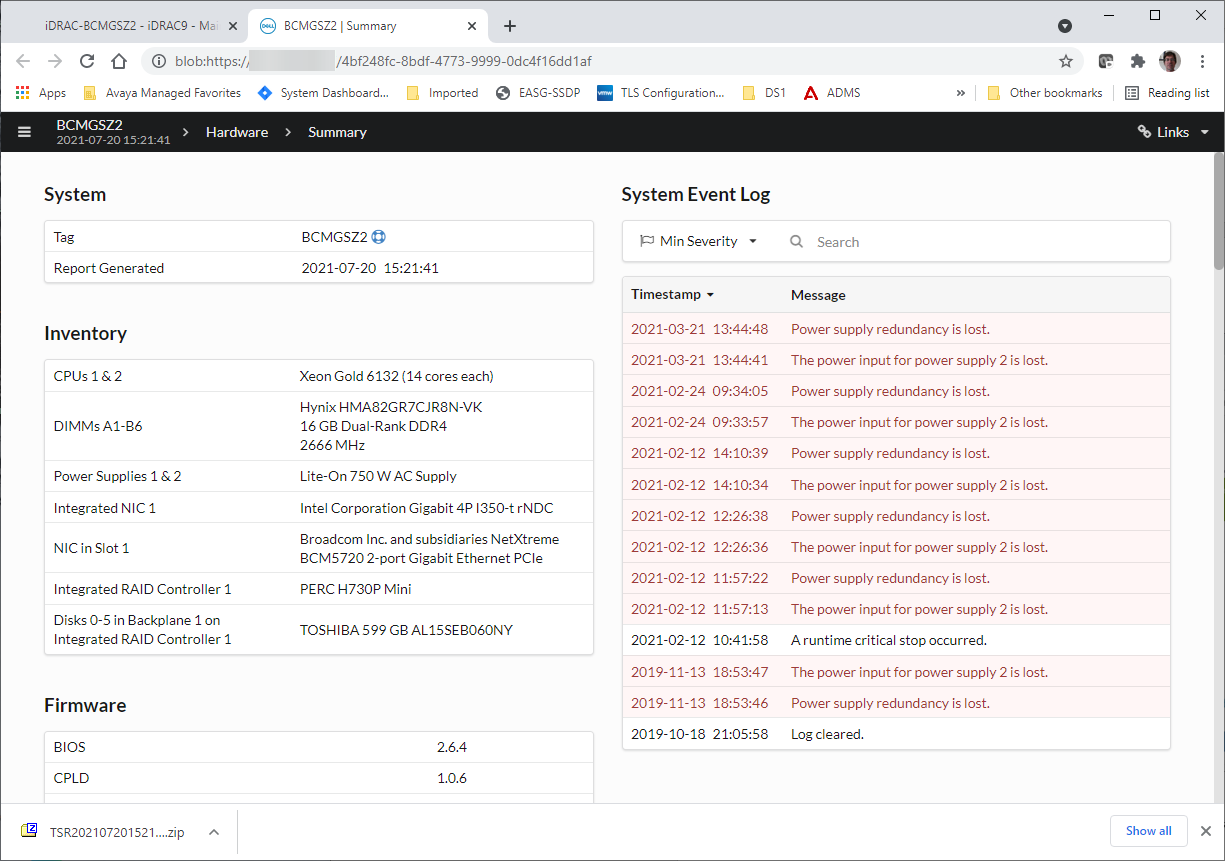
- This will open a new tab and allow you view the data in a GUI format. It will also download a .zip file of the same information for later viewing:
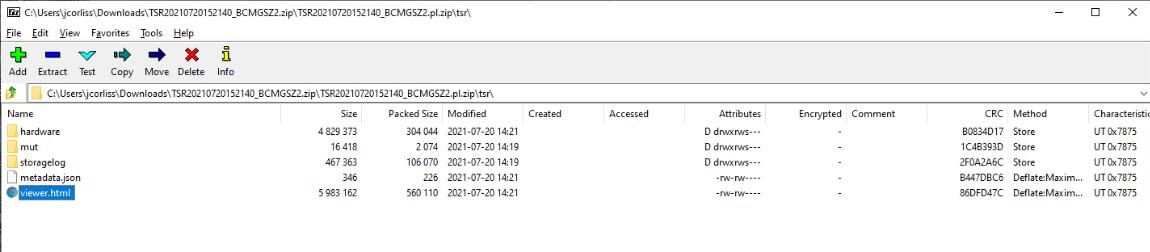
- To view the same data at a later time from the zip file open the zip file in an archive manager such as 7z:

- In the archive manager, click on the embedded zip file to extract that data. This will present a folder named tsr:

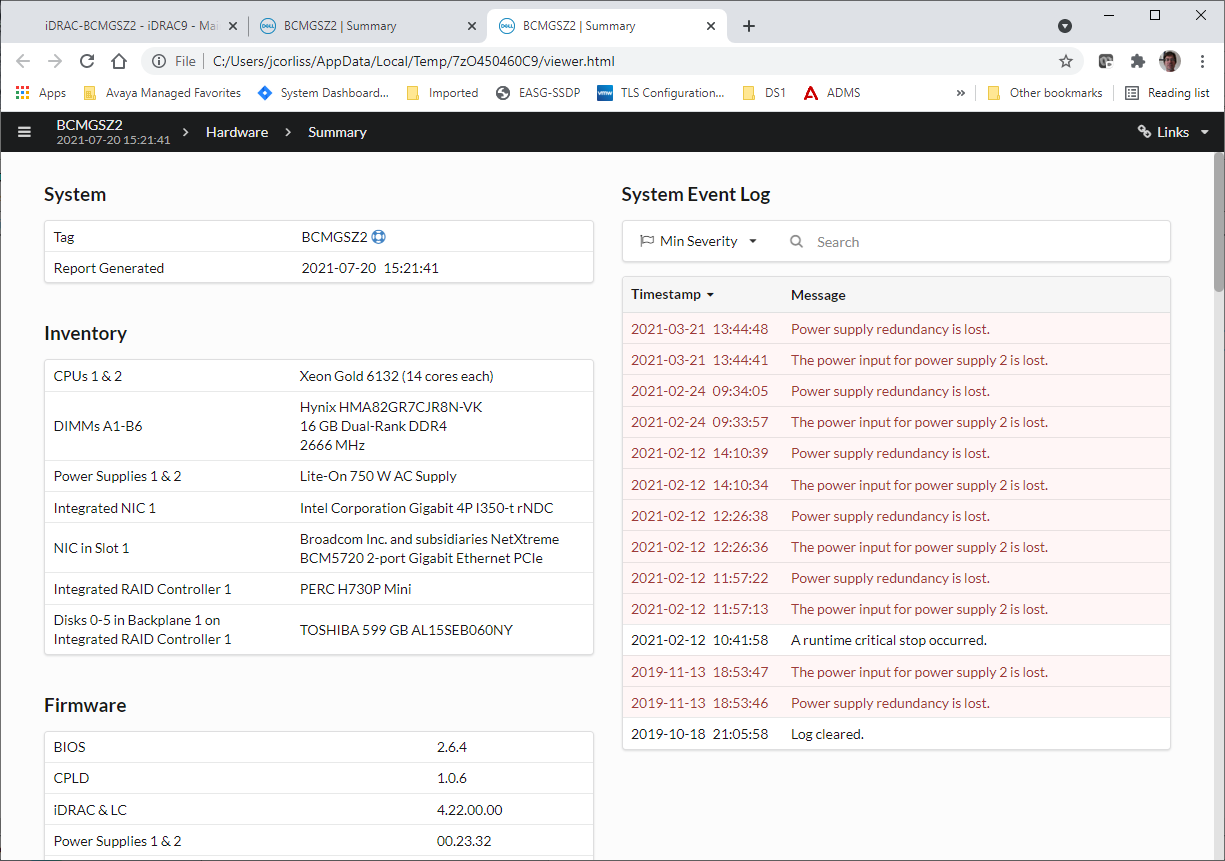
- Open the tsr folder. In 7z there is no need to do any further extraction of file to disk. Now select the file named viewer.html:
- Opening the viewer.html file will open a tab in your default browser and allow you to browse the SupportAssist data: