Preparing to configure the RAID controller

Last Updated : Feb 05, 2025 |

About this task

Use this procedure to configure the Dell R660xs RAID controller (H755) or the Dell R640 RAID controller (H730P Mini or H750). To do that the user must first delete all the existing configurations from the controller. The controller configuration process for creating ASP 130 R640 RAID configurations for profiles 2, 3, 4, 5 and 51 is the same whether the server has an H730P or H750 controller. There are minor differences between the H730P and H750 in the wording and display of the level selections.

These steps are required for migration of ASP R4.x, R5.x, AVP (ASP 120) on a Dell R640 to ASP R6.0.x.

The steps for the ASP 130 R660xs (H755) are similar to the steps below, again with minor differences in the level selections. The screen shots below are from a Dell R640 H730P.

Important:

This procedure will delete all previously written data on the HDDs. Use this procedure only if the previously configured RAID array/virtual drive needs to be deleted and re-created.

Before you begin

  • Ensure the server has the correct number of HDDs installed for the server profile.

Caution:

When performing this procedure all data on the HDDs will be destroyed. Reference the R640 server figure below.

Procedure

  1. When all necessary data has been copied and backed up from the customer’s R640 server, power off the server. The R640 power button (5) can be pushed and held until the server powers off.
  2. When migrating an R640 P5 or P51 server, the user can move to step 3 below. When migrating an R640 P2, P3 or P4 server insert the additional two 600GB HDDs into the next 2 available HDD slots. Slots are numbered 0-7. Slot designations are shown on the front of the server. See server figure below.
    • R640 P2 – Insert additional HDDs into slots 3 and 4 (slots 0-2 should already be populated with HDDs).

    • R640 P3 or R640 P4 – Insert additional HDDs into slots 4 and 5 (slots 0-3 should already be populated with HDDs).

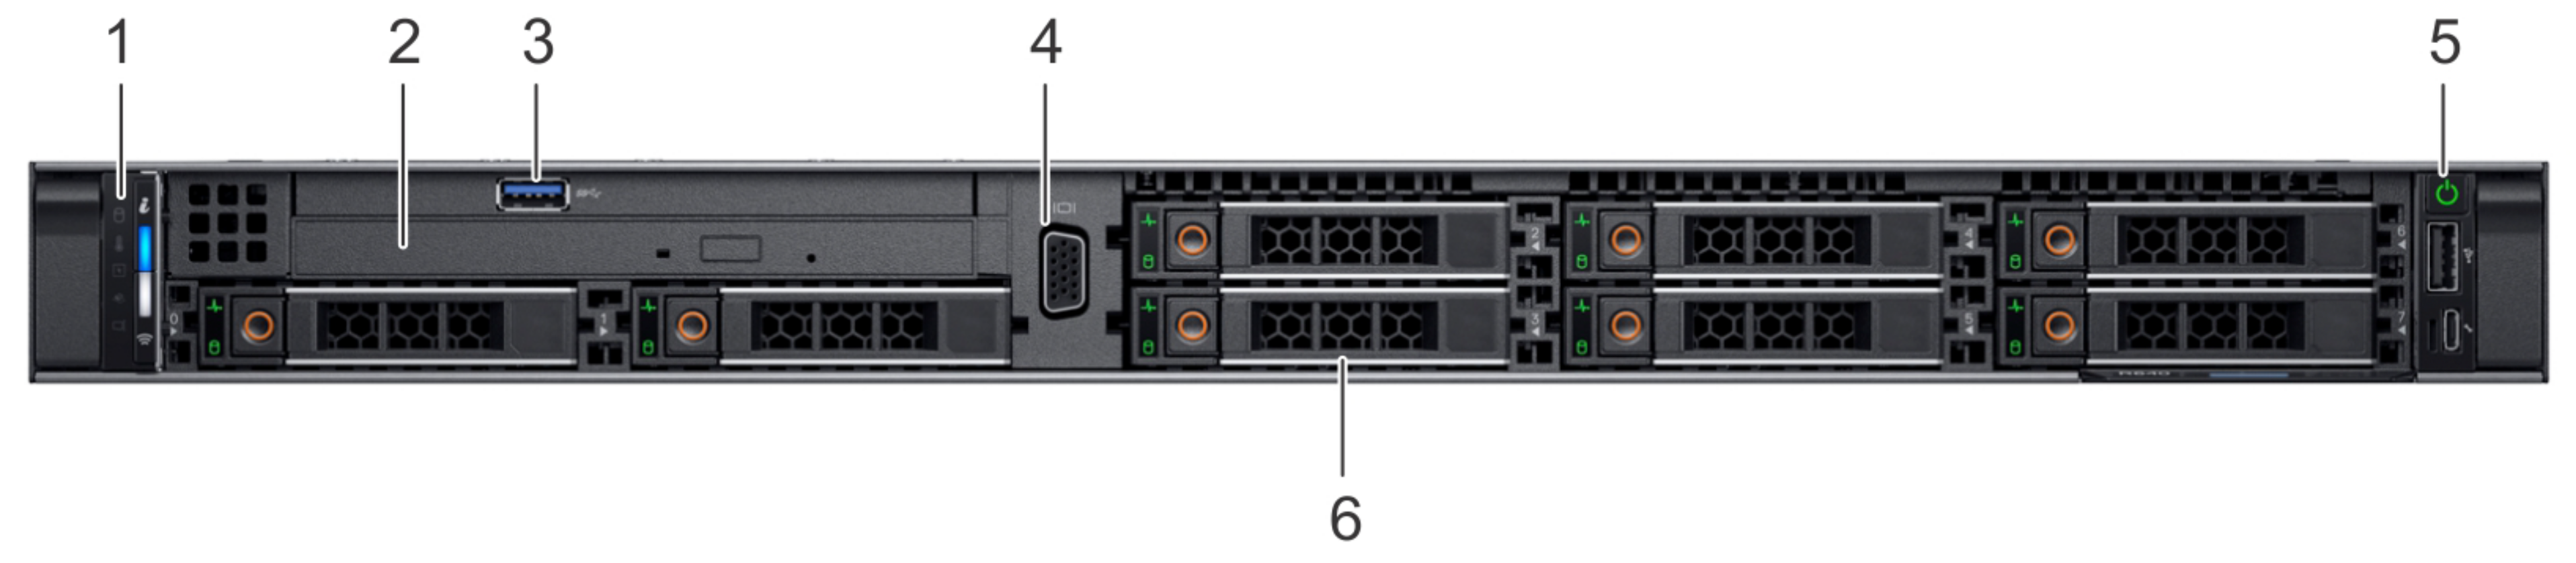
    Figure : 1. Avaya Dell R640 P51 Server


    Item

    Function

    Description

    1

    Left control panel

    Contains system health and status

    2

    Optical drive

    Slim SATA DVD-ROM drive

    3

    USB Port

    2 USB ports on front and 2 on rear of R640 server

    4

    VGA Port

    One port on front and one on rear. If front port is connected, rear port will disable.

    5

    Power button

    Controls power to the system

    6

    Drive Slots

    8 - 2.5 inch slots available for Hard Disk Drives(HDD) S

  3. Once the HDDs have been inserted in their correct slots, power up the server by pressing the power button. Server will begin hardware boot.
  4. Select <F2> System Setup when hardware boot screen appears. Blue highlight indicates System Setup Menu selected.
  5. Select Device Settings.
    Figure : 2. R640 with H730P RAID controller


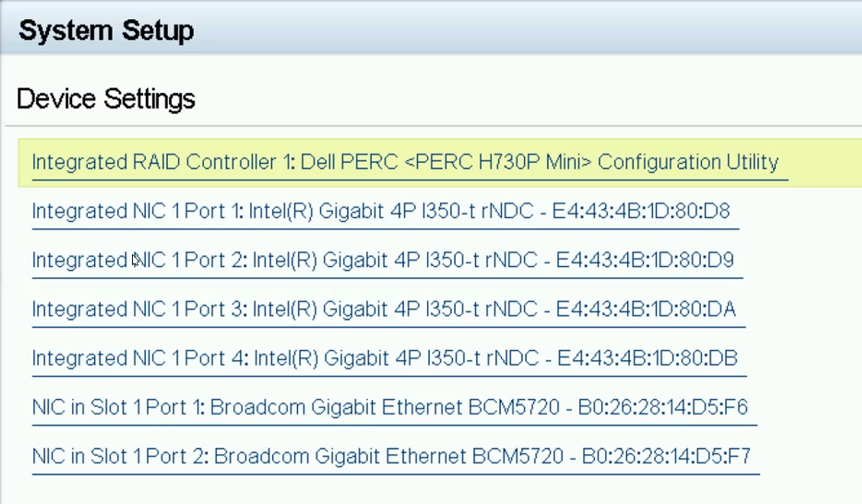
    Figure : 3. R640 with H750 RAID controller


  6. Select the top option, which is the RAID Controller in your system. Earlier versions of the R640 had a PERC H730P, later versions had the PERC H750. Their configuration interface is very similar.
  7. If your system has the H750 RAID controller select Main Menu.
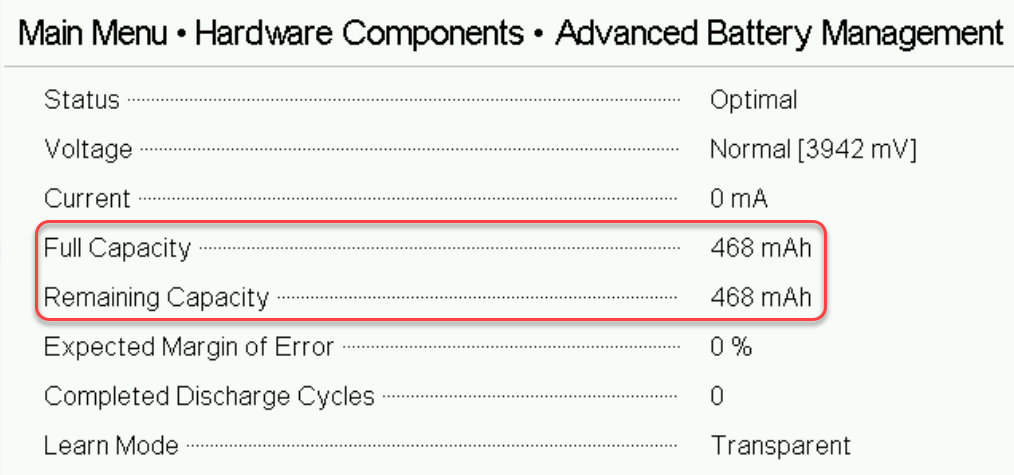
  8. Both controllers use the same interface and commands at this point. The H750 menus will display an additional Dashboard View in the menu header. Select Hardware Components to view the RAID battery quality of your system’s RAID controller.


  9. Select Battery Management and then select Advanced to view the capacity details of the RAID battery. Ensure that the Full Capacity of the Battery is above 250mAh and the Remaining Capacity is equal to or within 30mAh of the Full Capacity value. If the Full Capacity value is below 250mAh then it is recommended that a new RAID battery or RAID controller with battery be ordered and installed ASAP. The user may continue this process, but the RAID battery may need to be replaced within a year. A RAID battery is considered failed (RAID cache set to Write-Through mode) when its Full Capacity value is 135mAh or less. If your battery is failed do not proceed until a new battery is installed. Select Back twice to return to the RAID Controller Main Menu.
  10. Both controllers use the same interface and commands from this point on to create the RAID array so steps will be identical for both controllers. The H750 menus will display an additional Dashboard View in the menu header. When on this page select Configuration Management.
  11. Select Clear Configuration.
    Caution:

    Ensure all required customer data was backed up before proceeding with this next step! If data still requires backup, then select No and select Back/Exit to get out of these menus to perform appropriate backup of data.

  12. Check Confirm, select Yes and then OK to clear the current RAID array.

    By pressing OK all data on the HDDs will be cleared/destroyed.

  13. If after clearing the RAID controller configuration a Manage Foreign Configuration option is shown, then one or more of the HDDs inserted was from another RAID array and was not a new HDD. Select Manage Foreign Configuration. If there is no Manage Foreign Configuration option, then the user can move onto step 16 below.
  14. Select Clear Foreign Configuration.
  15. Check Confirm, select Yes and then OK to clear the current RAID array.
  16. Select Back to move to the higher-level RAID Controller menu.
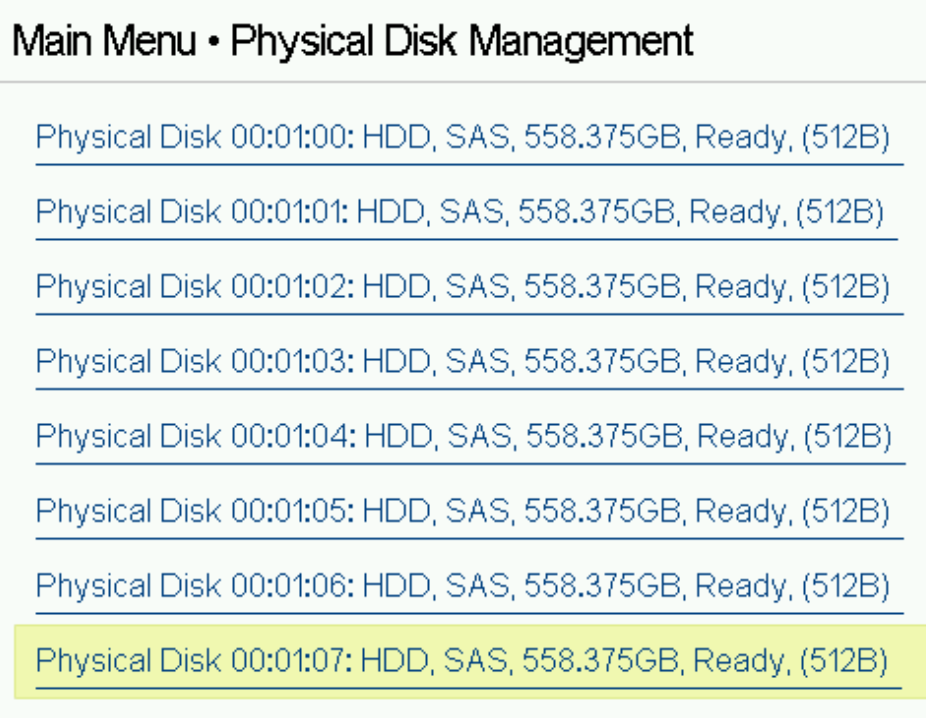
  17. Select Physical Disk Management.
    Figure : 4. 5 HDDs required for R640 Profile 2


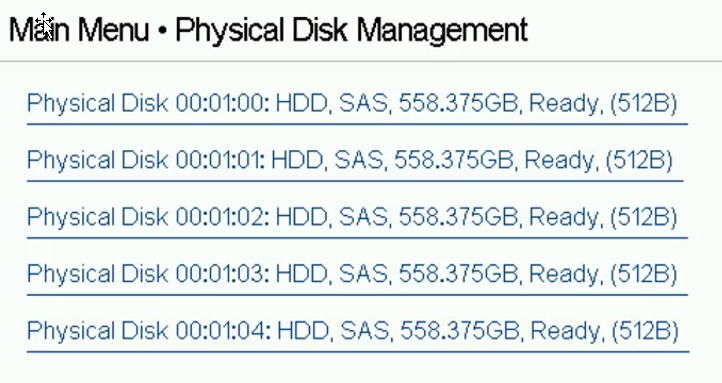
    Figure : 5. 6 HDDs required for R640 Profile 3, 4, and 5


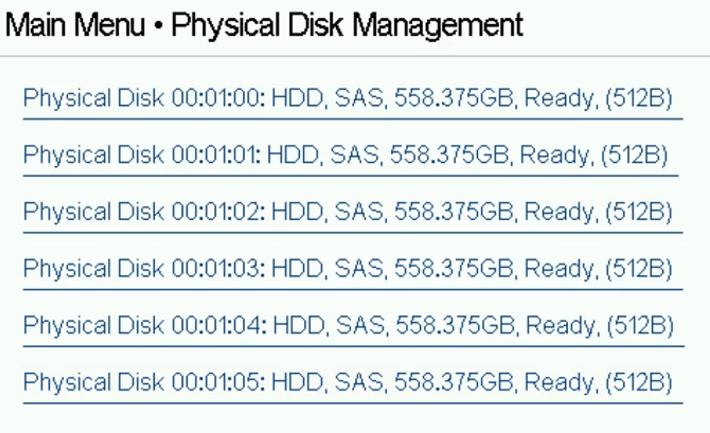
    Figure : 6. 8 HDDs required for R640 Profile 51


  18. The user should see the expected number of HDDs (Physical Disks) Ready for creating the appropriate RAID array for the R640 Profile # they are attempting to create. If all Disks are not in a Ready state move back to step 10 and perform a Clear on the Select Back to move to Main Menu.