AVAYA DOCUMENTATION CENTER
Find answers to your technical questions and learn how to use our products
Installing the Avaya Solutions Platform 130 Series
Attaching cables
About this task
Use this procedure to attach network and I/O cables to the system.
Note:
Consult application-specific documentation for information on peripheral and management device connectivity.
Before you begin
Ensure the system has been installed and secured as outlined in Installing the server (New ASP 130 R6.0.x Dell R660xs only) before you attach cables.
Ensure you have taken precautions against electrostatic discharge as outlined in Electrostatic discharge before you begin.
Customers must supply cables and/or transceivers compatible with their network infrastructure. For 1GbE interface, always use 1000BaseT UTP (CAT5e) cables as a minimum or 1000BaseTX UTP (CAT6) cables. For 10/25GbE interfaces the appropriate transceivers and cables are dependent on the customer network infrastructure. Proper cables (fiber optic or Direct Attach Copper [DAC]) and compatible transceivers are required to operate the 10/25 GbE interfaces. These interfaces use the industry-standard Small Form-Factor Pluggable 28 (SFP28) form factor. Customers must select cables and transceivers that are supported and qualified by their respective network switch vendor. Refer to the switch vendor’s documentation for the approved SFP28 cables and transceivers to ensure compatibility and correct operation.
Procedure
- Connect an optional management device using the console port on the system. If configuring KVM on RHEL 8.10 for the first time, a VGA monitor will be required.
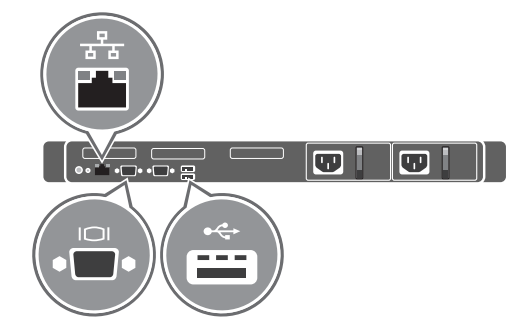
The image is a generic illustration. For detailed information on the back view of the server, see Rear view of Dell™ PowerEdge™ R660xs Server.