AVAYA DOCUMENTATION CENTER
Find answers to your technical questions and learn how to use our products
Maintaining and Troubleshooting Avaya Solutions Platform 130 Series
Replacing a hard disk drive
About this task
Use this procedure to replace the drive: R640 SRVR 600 GB 10K SAS 2.5” HDD.
The following are some helpful guidelines for replacing a hard disk drive:
Drives must be the same capacity to provide the greatest storage space efficiency when drives are grouped together into the same drive array. Larger drives can be used, but size will be limited to the smallest capacity drives.
Drives in the same logical volume must be of the same type. Avaya does not support mixing SAS, SATA, and SSD drives in the same logical volume. Currently, the server employs SAS HDDs.
Only use hard drives that have been tested and approved by Avaya for use with the hard-drive backplane.
When installing a hard drive, ensure that the adjacent drives are fully installed. Inserting a hard-drive carrier and attempting to lock its handle next to a partially installed carrier can damage the partially installed carrier's shield spring and make it unusable.
All hard drives connect to the system board through the hard-drive backplane. Hard drives are supplied in hot-swappable hard-drive carriers that fit in the hard-drive slots.
When you install a hard drive, allow enough time for the array to rebuild. Be aware that high capacity hard drives can take a number of hours to rebuild.
You can use the hard drive LED indicators to know the HDD rebuild status.
You can use the iDRAC for viewing HDD status.
Caution:
When a replacement hot-swappable hard drive is installed into the system, the hard drive automatically begins to rebuild. Ensure that the replacement hard drive is blank or contains data that can be over-written. Any data on the replacement hard drive is lost after the hard drive is installed.
Do not turn off or reboot your system while the hard drive is being rebuilt. Rebooting the system can cause a hard drive failure.
Caution:
This troubleshooting procedure can erase data stored on the hard drive. Before you proceed, back up files from the hard drives.
Important:
Drives are hot-swappable, so power down of a server is not required or recommended. However, you must replace only one drive at a time allowing for full rebuild between replacement of drives.
For more information on importing drives from a failed server, see Chapter 32: Dell R660xs and R640 RAID Import Procedures.
If all HDDs are replaced at once, then a new virtual drive must be created and software reinstalled. For more information, see the RAID Configuration section of the Installing the Avaya Solutions Platform 130 Series R6.0.x guide.
Procedure
- Remove failed or failing hard drive as indicated by HDD LEDs, application alarms, iDRAC, logs or diagnostics.
A single hard drive can be removed and replaced from RAID 5 or RAID 6 (ASP 130). Other RAID configurations may exist on ASP 110 R6.0.x systems. The Avaya application will continue to run. The RAID controller will run in a degraded mode until a replacement HDD is installed and rebuilt.
- Holding the handle, slide the drive carrier out of the drive slot.
Figure : 1. HDD removal
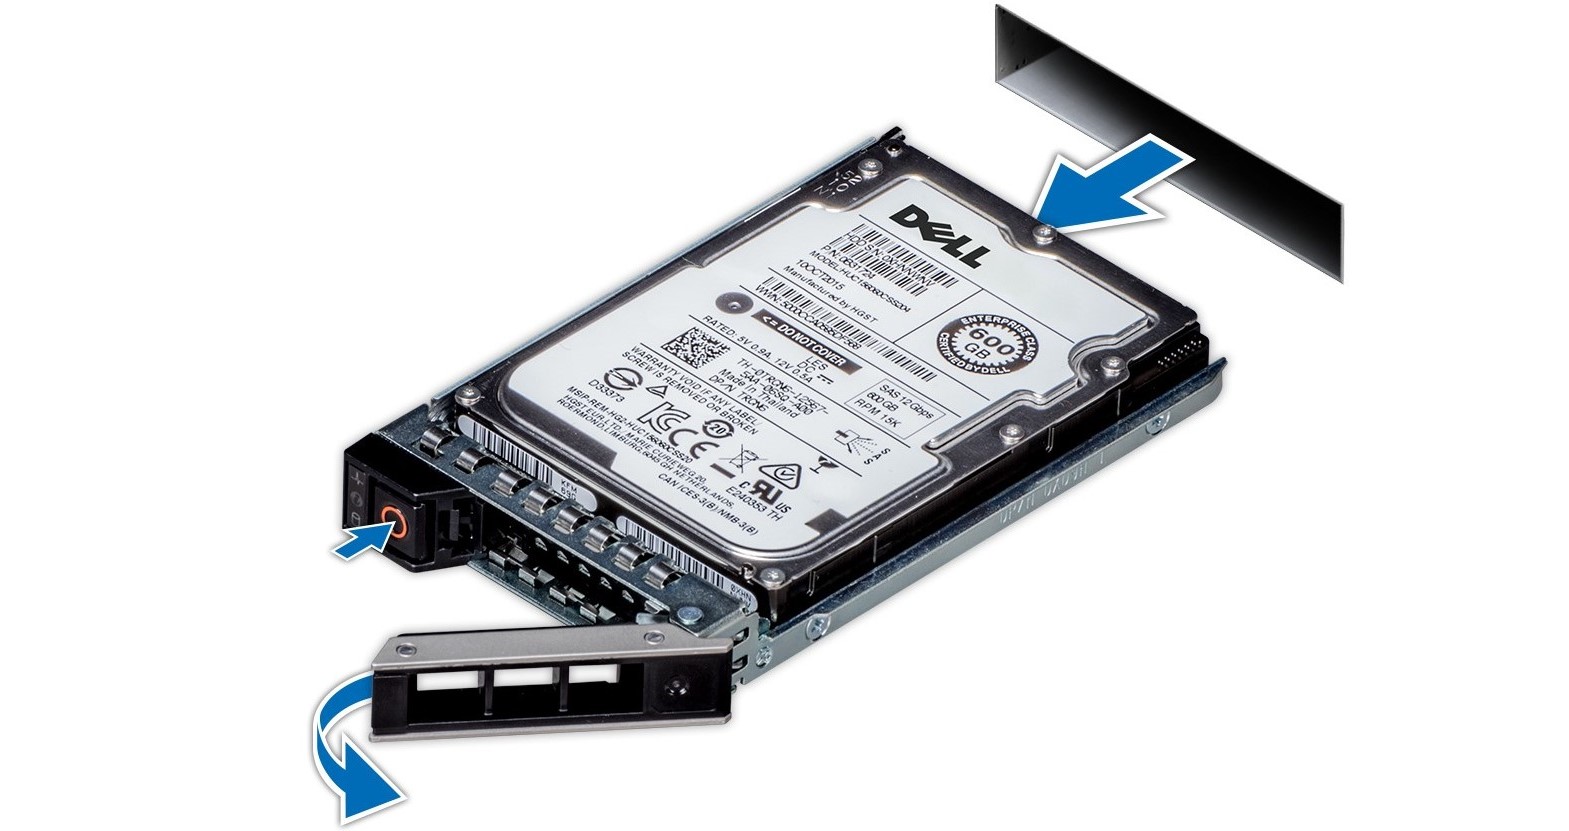
- Holding the handle, slide the drive carrier out of the drive slot.
- Install the replacement HDD using the following steps:
- Close the drive carrier release handle to lock the drive in place.
Figure : 2. HDD insertion
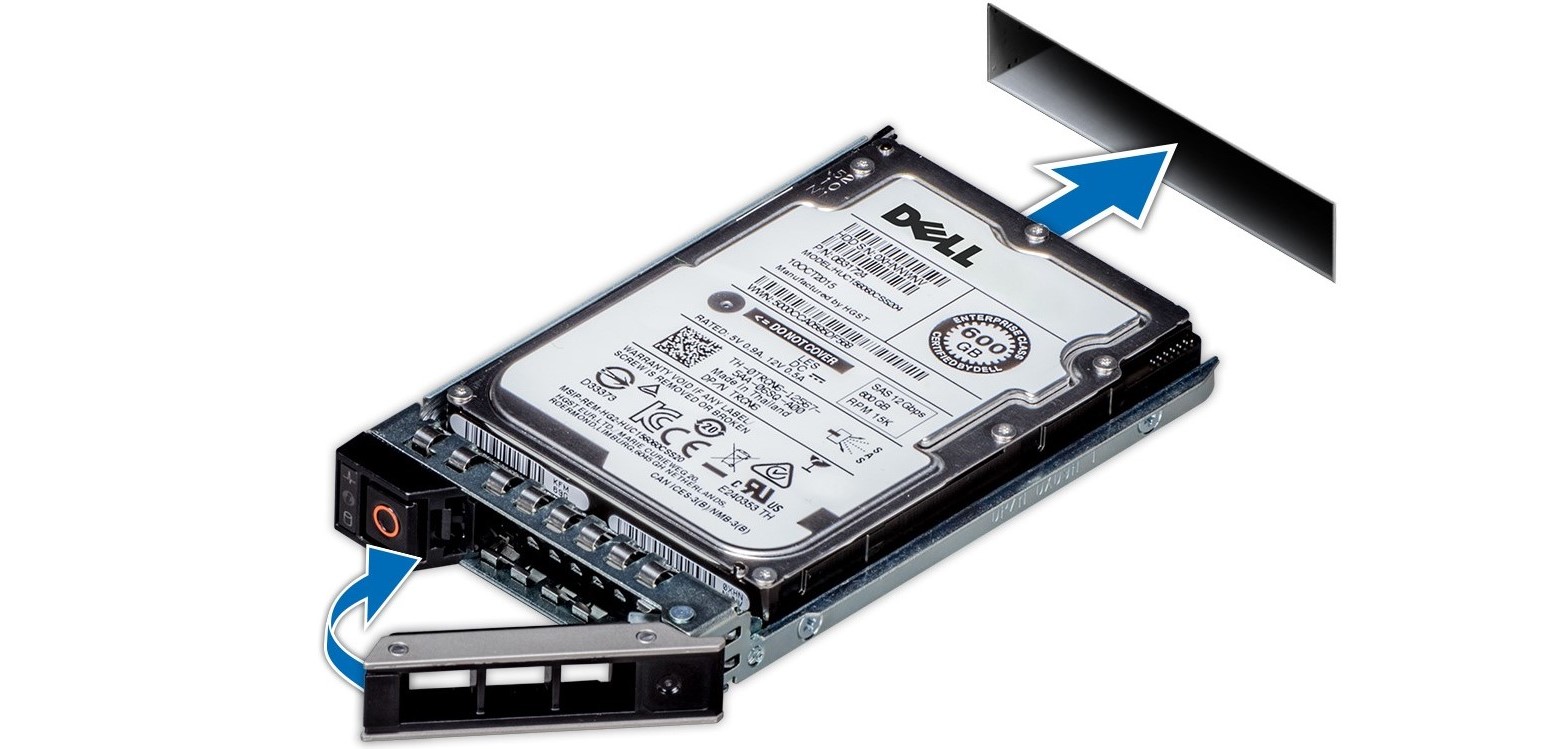
- Close the drive carrier release handle to lock the drive in place.