Changing Workspaces layout for an outbound enabled agent

Last Updated : Apr 27, 2022 |

About this task

Use this procedure to change the layout of the agent Workspaces.

Procedure

  1. Log in to Avaya Workspaces for Call Center Elite with administrator credentials.
  2. Click the icon.

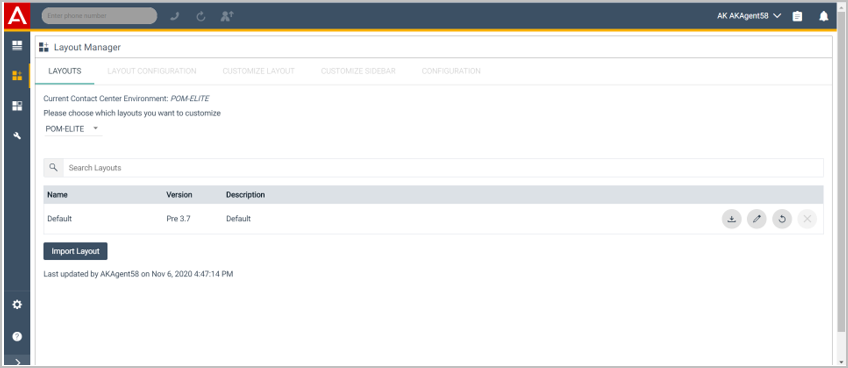
    Avaya Workspaces for Call Center Elite displays the Layout Manager page. By default, Avaya Workspaces for Call Center Elite displays the CUSTOMIZE LAYOUT tab.

  3. In the Please choose which layout you want to customise, select POM-ELITE.
    Avaya Workspaces for Call Center Elite reloads and opens in POM-ELITE mode:


  4. Click the Edit icon.

    Avaya Workspaces for Call Center Elite displays the LAYOUT CONFIGURATION tab.

  5. Click the CUSTOMIZE LAYOUT tab
  6. Click CUSTOM.

    Avaya Workspaces for Call Center Elite displays the CUSTOMIZE SIDEBAR tab.

  7. In the Please select a sidebar tab area, click the edit icon corresponding to CUSTOM (Default Tab)

    Avaya Workspaces for Call Center Elite displays the CONFIGURATION tab.

  8. In the Select Layout area, select the required layout.
  9. In the Select Widgets area, click the required widgets.
  10. Click Save Changes.
    Note:

    Ensure that you configure the connector widget on the home layout and the customer details, agent script, and outbound widgets on the custom card layout.