AVAYA DOCUMENTATION CENTER
Find answers to your technical questions and learn how to use our products
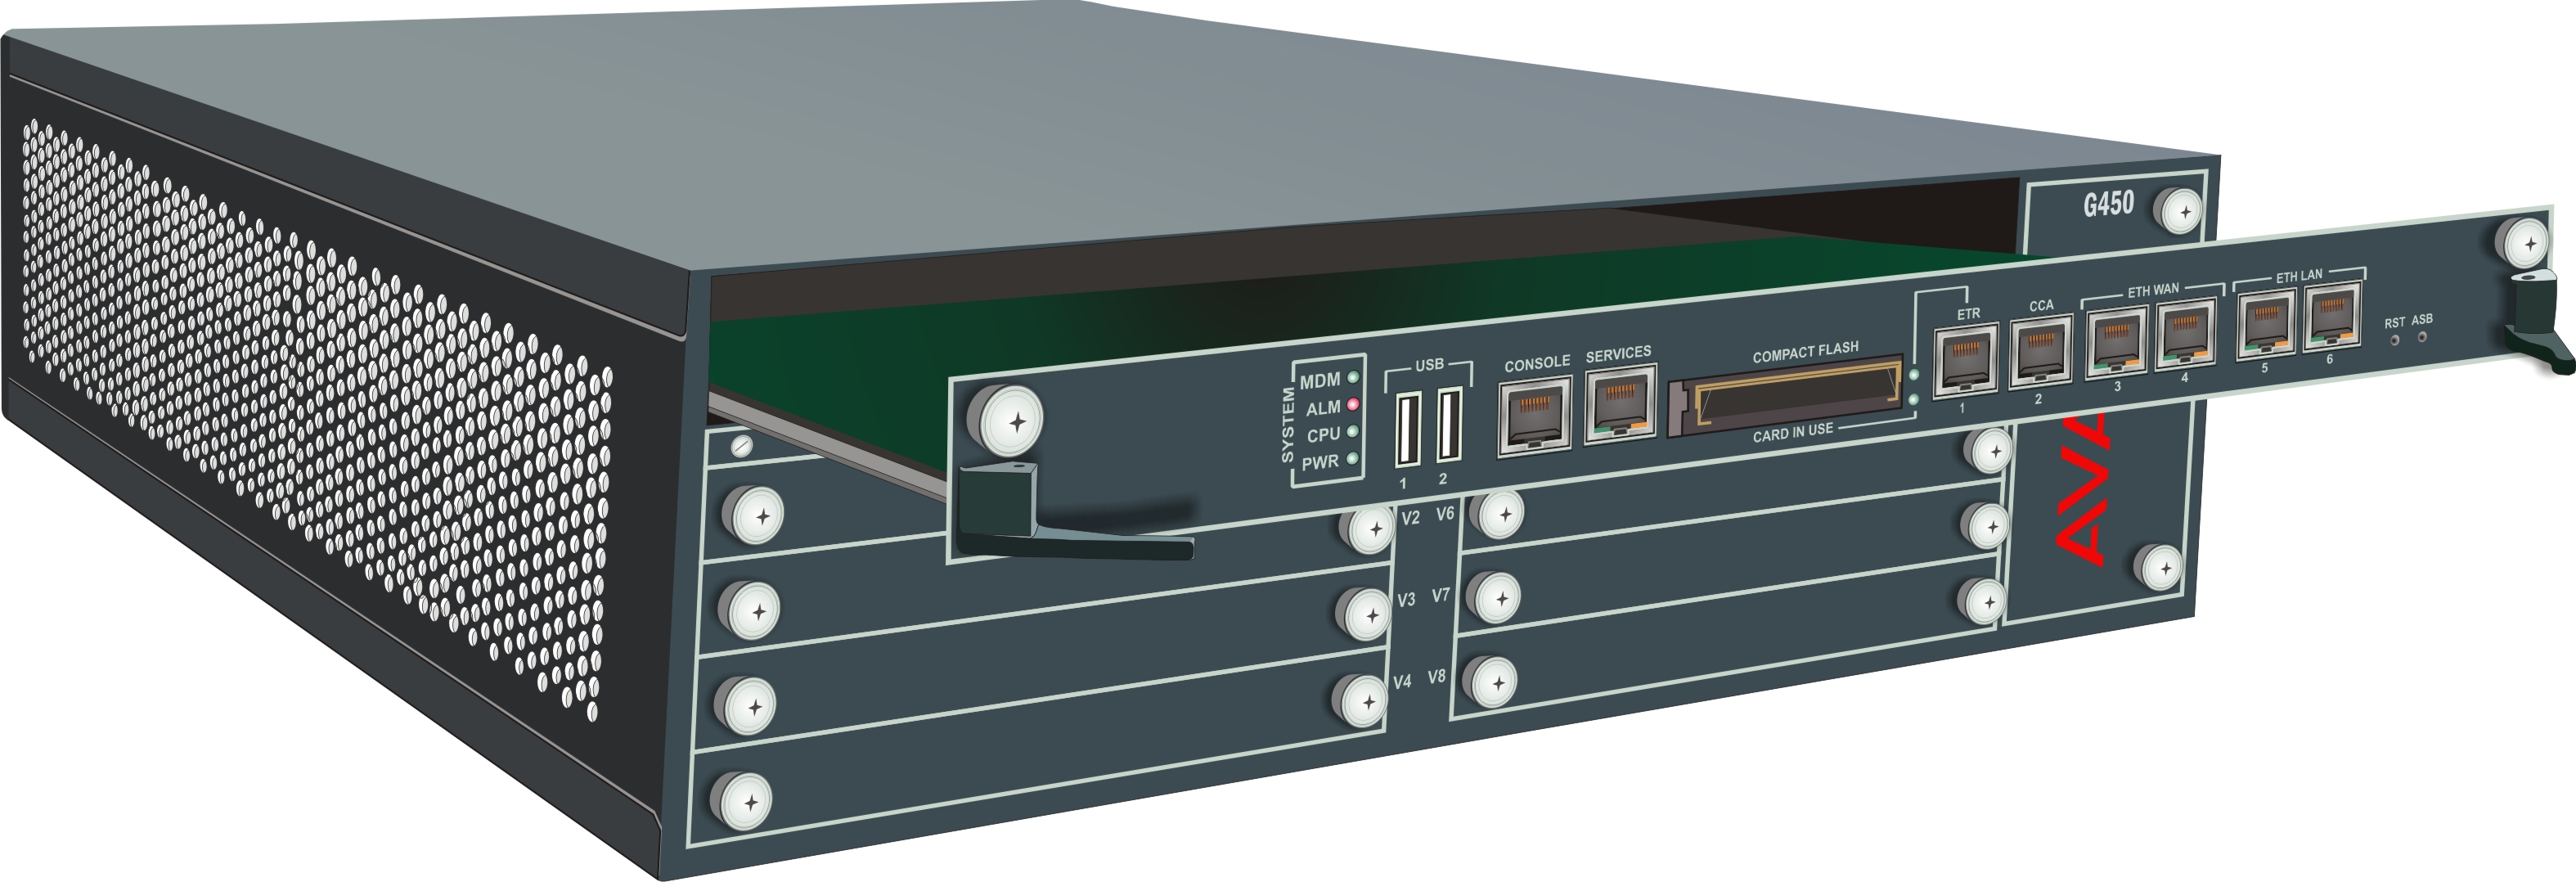
Deploying and Upgrading Avaya G450 Branch Gateway
Removing and inserting the Branch Gateway main board
Procedure
- To remove the Branch Gateway main board:
- Unscrew the two captive screws, one at each side of the Branch Gateway main board front panel.
- Open the latches on both sides of the main board.
- Grasp the latches and pull out the main board from its slot.
- Place the main board carefully on a table.
- To insert the Branch Gateway main board:
- Open the latches on both sides of the slot.
- Insert the Branch Gateway main board vertically into the slot.
- Push the main board in until the latches begin to close.
- Close and tighten the two captive screws on the front panel and then tighten the latches.
- Use the show platform mainboard CLI command to make sure theBranch Gateway is working properly.
Result