AVAYA DOCUMENTATION CENTER
Find answers to your technical questions and learn how to use our products
Deploying and Upgrading Avaya G450 Branch Gateway
Replacing a power supply unit
About this task
The Branch Gateway provides full redundant, load sharing power supply units (1 + 1). A single power supply unit provides enough power for any Branch Gateway configuration. If you choose to install two power supply units, the units operate in a load sharing mode.
The Branch Gateway supports hot swap of the power supply unit. Even if you have only one PSU unit installed, there is no need to turn off or reset the Branch Gateway when replacing a faulty power unit. You can install the replacement PSU in the second PWR slot, and it becomes the active PSU once you remove the faulty PSU.
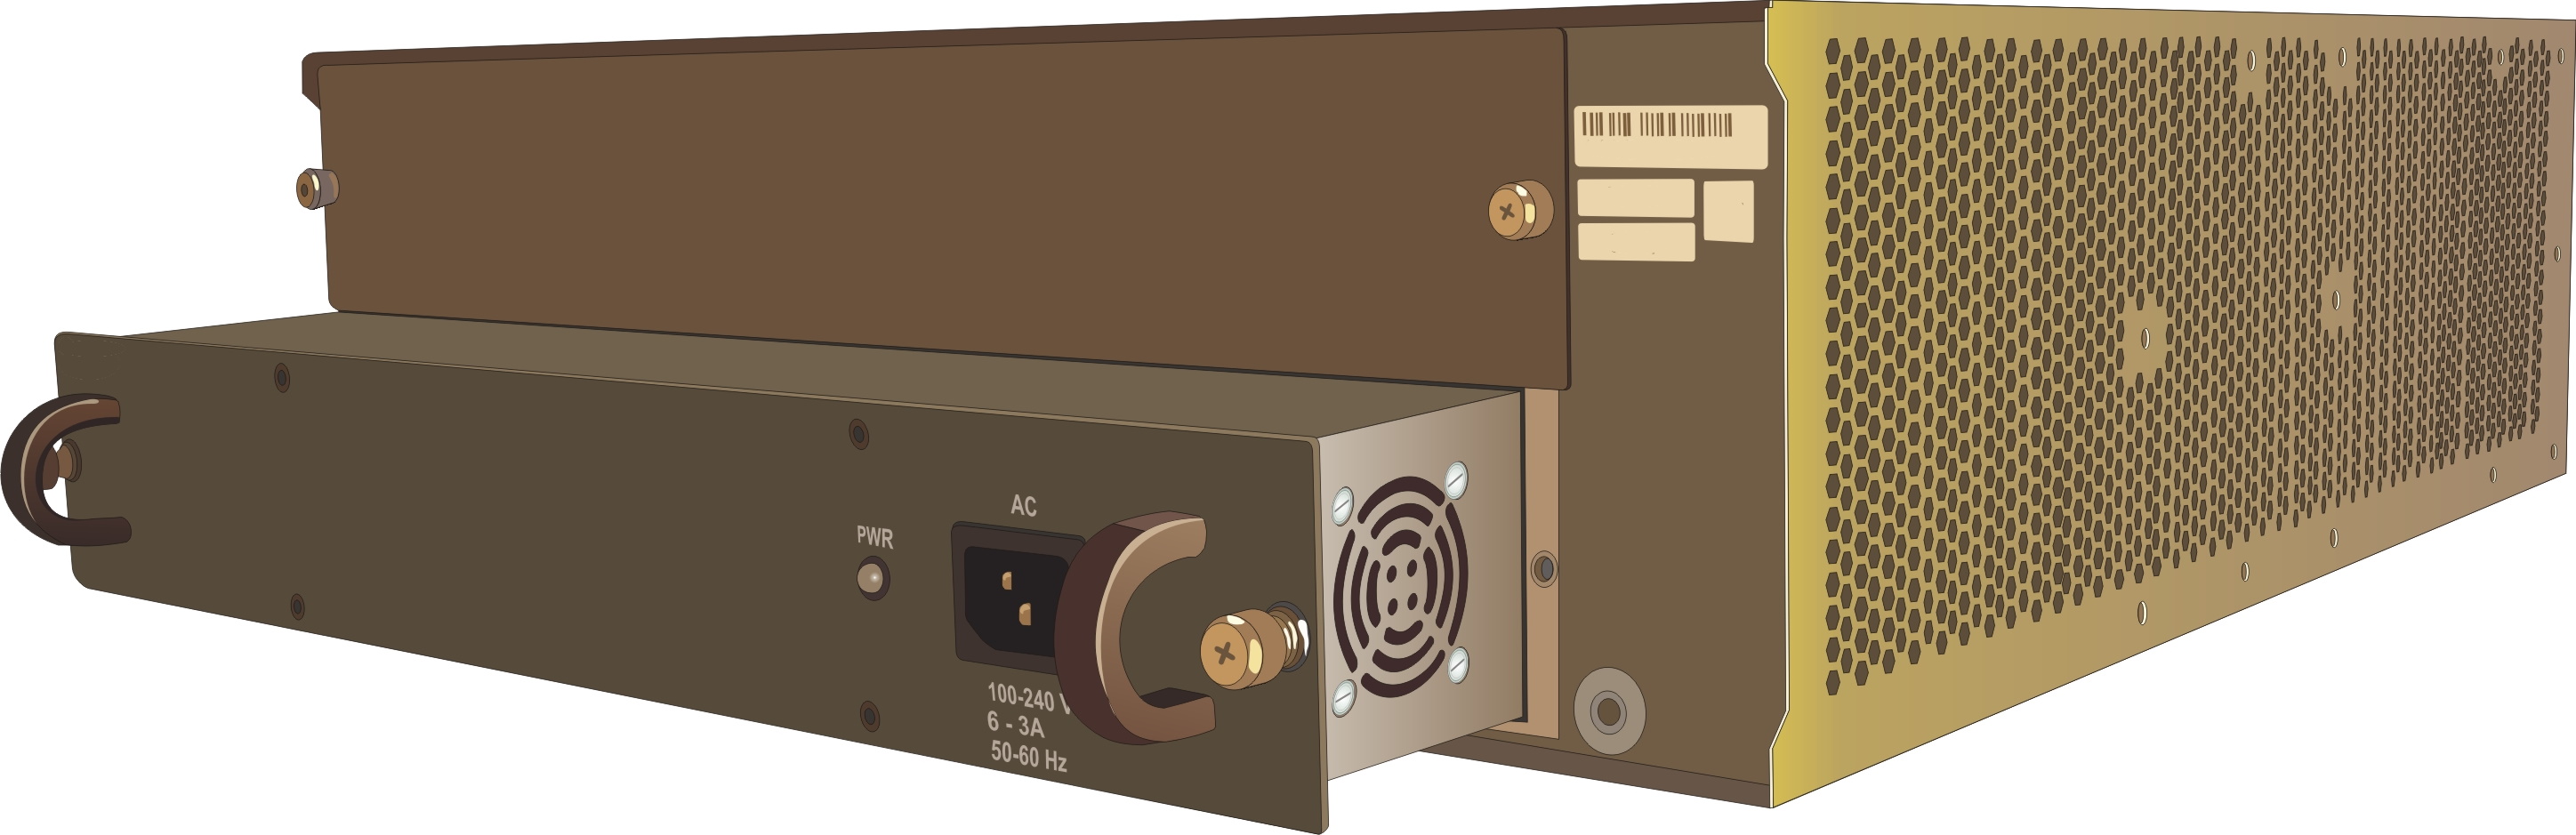
Procedure
- To remove a power supply unit:
- Disconnect the Branch Gateway power cable from the mains socket.
- Disconnect the Branch Gateway power cable from the power connector, on the front panel of the power supply unit, at the rear of the Branch Gateway.
- Loosen the two captive screws, one on each side of the power supply unit.
- Grasp the two side handles and pull the power supply unit out of the slot.
- To insert a power supply unit: