DITA provides support for image maps, which are images with hot spots that link to other topics or files. The linked topics or files can be displayed in the active window or in a new pop-up window. Image maps are supported only for HTML outputs.
Before you begin
Create the image that you want to use as an image map and import it into Tridion Docs.
Procedure
Open the image in any tool such as Microsoft Paint.
Do the following to record the coordinates of each object or shape for which you want to create a link.
The number of coordinates that you need to record depends on the shape of the object (rectangle/square, circle, or polygon):
For a rectangle or square, record the coordinates of the top left corner and bottom right corner.
For a circle, record the center coordinates and right center coordinates (radius).
For a polygon, record the coordinates of all angles. Start at the top left angle. Or you can simply identify coordinates of an area that surrounds the polygon. It depends on how closely you want the image map area to follow the shape of the object and how many coordinates you want to capture. The first and last coordinate pair must always be the same to close the polygon.
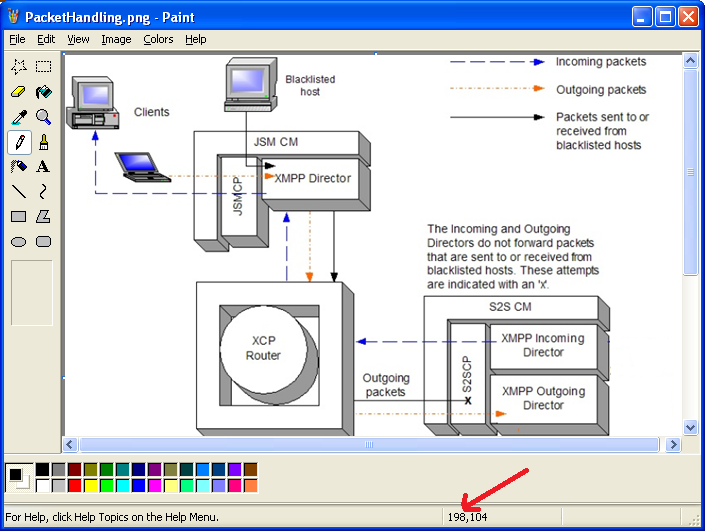
The method used to capture the coordinates of a shape varies across image editor applications. For example, in Microsoft Paint, when you hover the pencil tool over a point in the drawing, the coordinates are displayed in the lower-right corner of the screen. In the sample below, the coordinates of the upper-left corner of the XMPP Director box are 198,104 as shown in the lower-right corner of the screen.
In the Tridion Docs repository, locate the image that you want to use for the image map, right-click the image and select Properties.
In the Properties dialog box, copy the GUID value from the Identifier field.
In the publication, check out the topic in Oxygen XML Author.
In the topic, insert an imagemap element, click the Tridion Docs icon and browse to the image that you want to add as image map.
The editor adds an image element within the imagemap element.
In the image element, click Image Map Details.
The editor displays the following fields:
In Image Map Details, select a shape for the first linkable area that you want to define in the image:
rect: Define a rectangular, square, or triangle region. If you leave the shape element blank, a rectangular shape is assumed.
circle: Define a circular region.
poly: Define a polygonal region.
The area element is located immediately after the image element.
Within the area element, in coords, type the coordinates for the linkable area that you are defining, separating each coordinate with a comma:
For a rectangle, square, or triangle, enter the top left coordinates and bottom right coordinates, for example 65,74,119,128.
For a circle, enter the center coordinates and the radius, for example, 263,348,41.
Tip:
To calculate the radius, subtract the center first coordinate (center x coordinate) from the right first coordinate (right x coordinate). For example, if the center coordinates are 263,348 and the right coordinates are 304,348, subtract 263 from 304 to calculate the radius of 41.
For a polygon, type the coordinates of every angle. The first and last coordinates must be the same to close the polygon, for example, 192,135,357,132,217,158,216,238,192,135.
Within the area element, in the xref element, define a target for the linkable area that you are defining:
To link to another topic, get the GUID (ID) of the target topic, and paste it in the href field of the source, and click OK.
To link to an external target, select the xref element, and in Attributes window, enter the full path to the target location in the href field, set the scope to external, and click OK.
Optional If the xref target must display in a new pop-up window instead of the active window, perform the following steps:
Double-click or select the xref tag.
In the Attributes dialog box. type popup in the outputclass field.
Click OK.
To add more linkable areas, place your cursor before the ending imagemap tag, press Enter, select New area, and then repeat Steps 7 through 10 for each area element.
The editor adds a new row 2 below where you can add the details for the second linkable area.
Check in the topic.
Produce the HTML output and test the links from the image.