

AVAYA-DOCUMENTATIECENTRUM
Vind antwoorden op uw technische vragen en leer hoe u onze producten kunt gebruiken
Workflows configureren voor Avaya Infinity
Webhook
REST API integration and external system communication.
Overview
The Webhook workflow module enables you to run an API request within a workflow. You can run an API request against any REST or SOAP API.
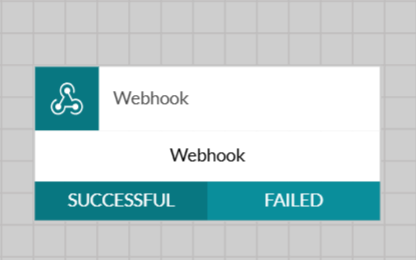
The following image shows the external view of the Webhook module:
When to Use
-
Retrieve customer data from CRM systems.
-
Submit orders or requests to external platforms.
-
Authenticate against external services.
-
Trigger actions in third-party applications.
Authentication Patterns
Bearer Token Authentication
Step 1: Get Token
-
URL: https://api.company.com/auth
-
Method: POST
-
Body: {"username": "user", "password": "pass"}
-
Response: Store {{access_token}}
Step 2: Use Token
-
URL: https://api.company.com/customer/{{account_number}}
-
Method: GET
-
Headers: Authorization: Bearer {{access_token}}
Configuration Best Practices
-
Always include timeout settings (30-60 seconds).
-
Plan error handling paths for failed API calls.
-
Use appropriate HTTP methods (GET for retrieval, POST for creation).
-
Validate JSON responses before using data.
General Settings
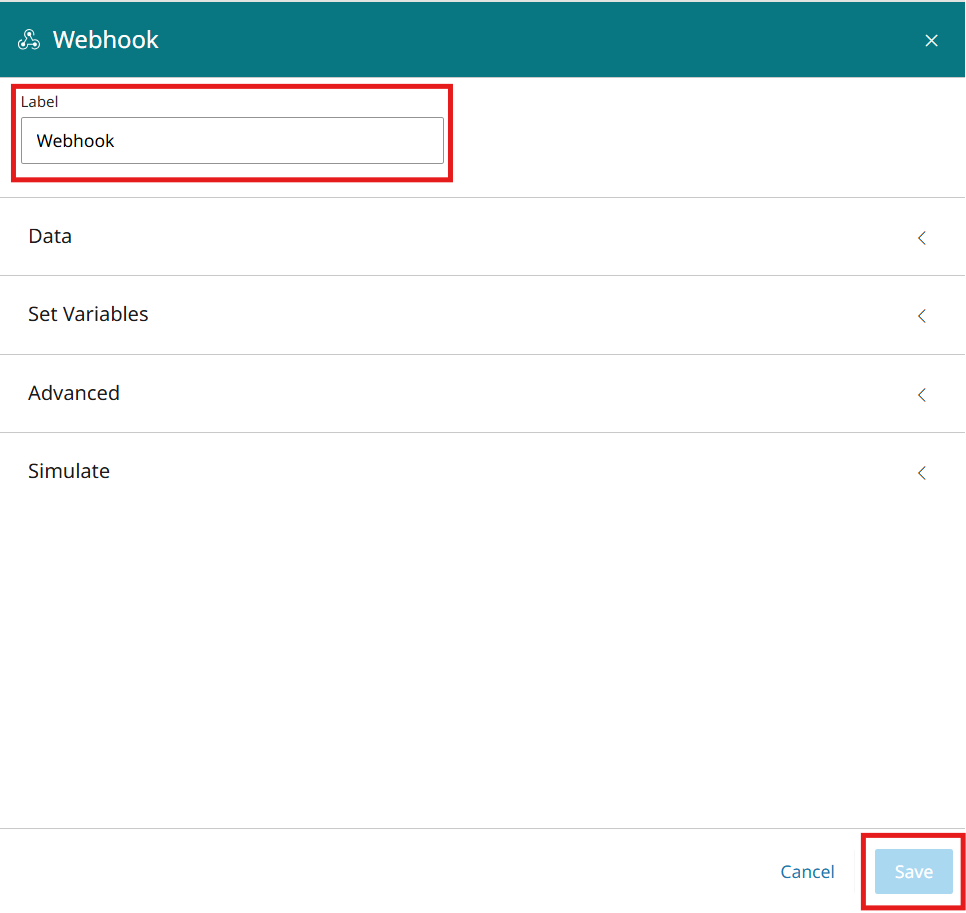
The following set of settings enables you to customize an instance of the Webhook workflow module:
|
Instelling
|
Beschrijving
|
|---|---|
|
Label
|
Definieert de aangepaste naam voor de module.
|
|
Save
|
Slaat alle wijzigingen in de module op.
|
Data settings
The following table explains all the available settings under the Data section: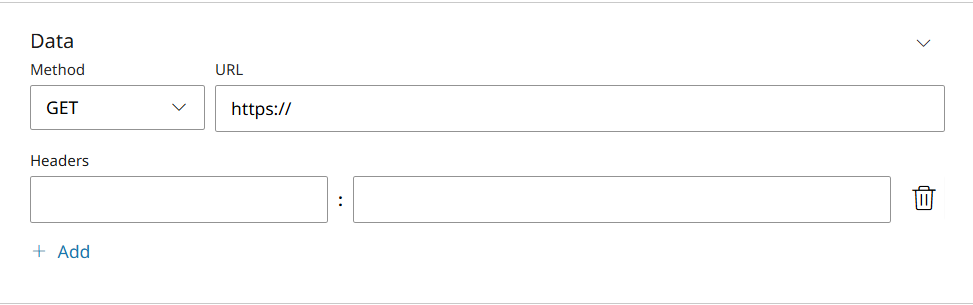
|
Instelling
|
Beschrijving
|
|---|---|
|
Method
|
Enables you to select the HTTP request method for the relevant API resource.
You can select one of the following options:
|
|
URL
|
Enables you to specify the API URL to which you want to make the request.
|
|
Headers
|
Enables you to specify header information in your request.
Include authentication information, such as a username and passkey, in the headers. To learn what headers are relevant, refer to the API documentation of the API you want to use.
|
Additional settings for POST, PATCH, and PUT methods
The following additional fields in the Data section are for HTTP methods that can have a request body: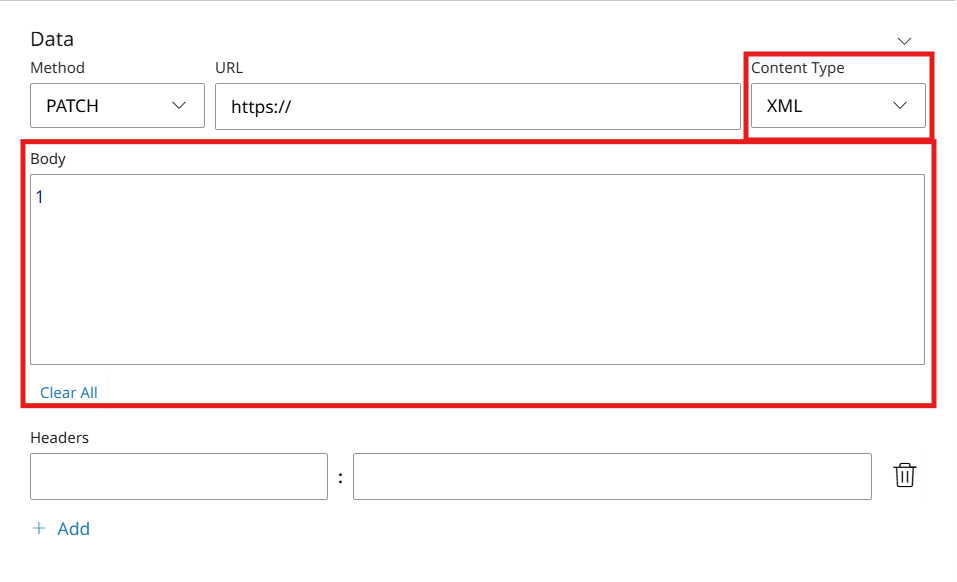
|
Instelling
|
Beschrijving
|
|---|---|
|
Content Type
|
Sets the format of the request body. The Webhook module supports the following four content types:
Note:
You can refer to the API documentation of the API you want to use to learn what data format is most appropriate.
You can override the default Content-Type by specifying a custom Content-Type in the Headers section. You can add a custom header with the key content-type and the required value. The custom header value overrides the Content-Type option selected in the drop-down for the HTTP request.
|
|
Body
|
Enables you to provide the JSON, XML, Form Encoded, or Form Data content for your request.
|
Advanced section settings
The following table explains the advanced settings for the Webhook workflow module: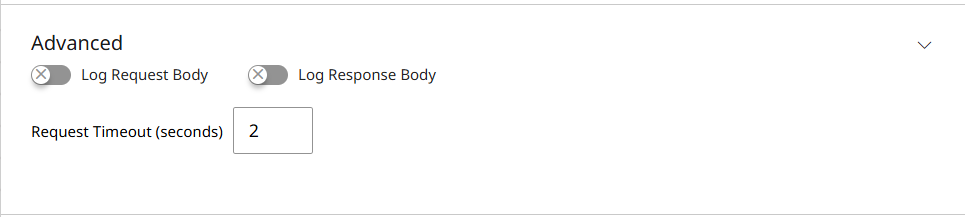
|
Instelling
|
Beschrijving
|
|---|---|
|
Log Request Body
|
Decides whether any data provided in the request body of the API request is recorded.
|
|
Log Response Body
|
Decides whether any data provided in the response body of the API request is recorded.
|
|
Request Timeout (seconds)
|
Specifies a time limit for the Webhook to wait for a response to its API request. Set a request timeout to prevent the Webhook from waiting indefinitely for an API response.
If the request timeout is reached, the module will take the failure route.
|
Set Variable section settings
You can map values in the response body to variables the workflow can use in other modules. You can map values to preconfigured variables available on your account or to custom variables you create. The following set of settings is available in this section: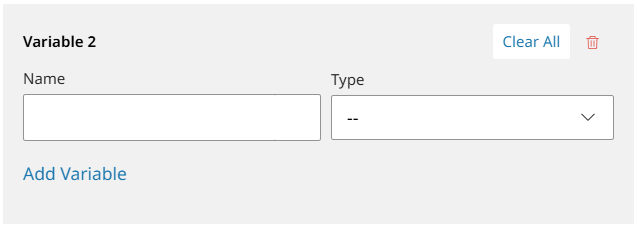
|
Instelling
|
Beschrijving
|
|---|---|
|
Name
|
Defines the name of the variable. The name must not contain any spaces.
Gebruik workflow-replay om te zien welke variabelen beschikbaar zijn voor uw specifieke workflow en kanaal. Zie Beschikbare variabelen voor een workflow ontdekken voor meer informatie.
|
|
Type
|
Enables you to select the type of data you can store in the variable. You have the following two options: Advanced and Variable.
For more information, see Gegevenstypen voor variabelen.
|
|
Delete
|
Removes the variable.
|
Use Case
Here is a simple use case for implementing a Webhook module in your workflow:
You run a retail business and, to drive more sales, want to send new newsletter subscribers a discount code for their first purchase.
You manage your subscribers from a database attached to the URL of your website and use your Avaya Infinity™ account to handle inbound interactions for routine customer inquiries, such as payment and tracking.
You decide to set up a workflow to increase your customer base and expand your newsletter audience.
You start with a Say + Gather module to collect customer’s contact information.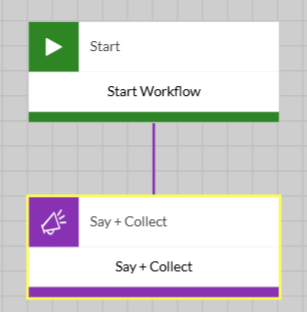
After you have collected the data, you want to know their subscription status. For that, you can use a Webhook module to read your database and use the customer information to look up their records.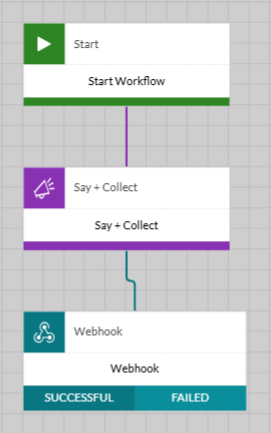
If there is a match, the workflow takes the Success route and can proceed to help the customer with their issue. If there is no match because the system could not locate a record with the same customer information (if the customer isn’t a subscriber), the Failure route can link to a Say-Intent module to ask whether the customer would like to become a subscriber. If the customer agrees to become a subscriber, use another Webhook module to write the customer’s information to the database.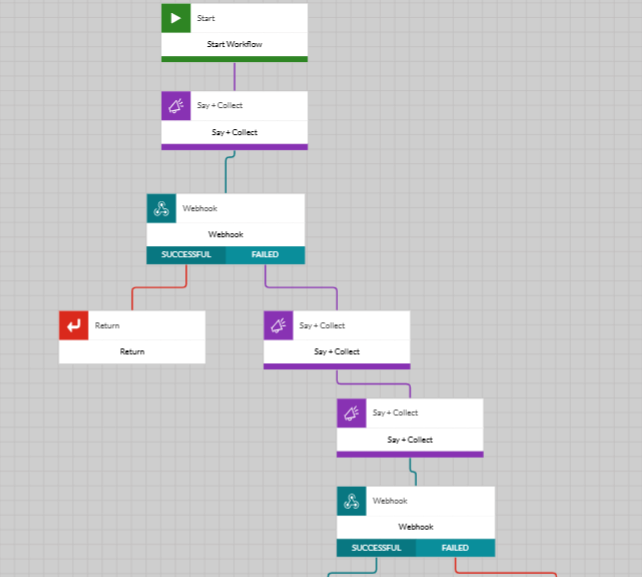
After writing the information to the database, you can send the customer a message with the Send Chat Message module containing a discount code. 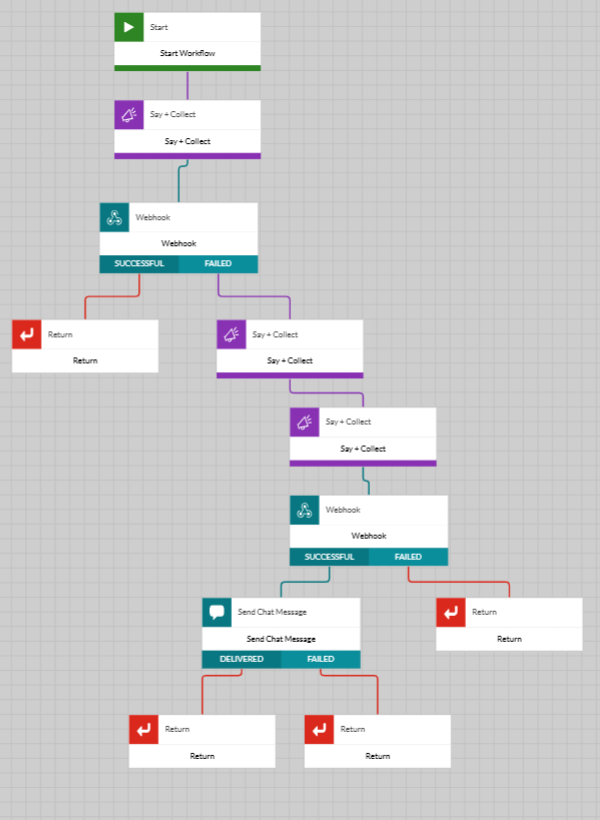
This is one example of how you could use the Webhook module in a workflow to read, write to, or update data in an external database.
Bekijk de trainingvideo: Setting the Webhook Workflow Module