AVAYA DOCUMENTATION CENTER
Find answers to your technical questions and learn how to use our products
Deploying Avaya Aura® Device Services
Cloning a Virtual Machine on ASP R6.0.x (KVM on RHEL 8.10)
About this task
Use this procedure to create a clone for backup purposes.
Before you begin
Ensure there is sufficient space to create the Virtual Machine Backup (clone). Clones are created as “thick provisioned” and require the same size as the virtual machine you are cloning.
Refer to application documentation for guidelines on storage requirements for different application profiles.
Shut down the virtual machine for which you are creating a backup (clone). This is a service impacting activity. Perform these steps within a customer-approved maintenance window.
Note:
You must be root or use sudo with custadm account for CLI commands, and you must enable Administrative access when using the Cockpit user interface.
Note:
These clones must be created through the CLI as the Cockpit UI does not support the necessary required options.
Procedure
- For administration actions, on the top-right of the window, click on the Limited access button.
Figure : 1. Limited access button

Note:You require administrator access in order to view virtual machines. Administrator access is like root access. Ensure that you take care making updates.
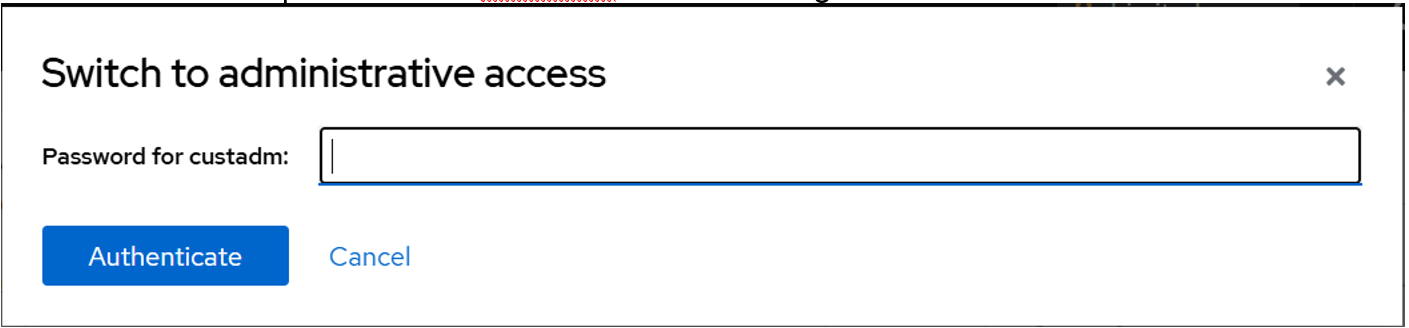
- In the Switch to administrative access window, enter the password for custadm.
Figure : 2. Switch to administrative access
The Limited access button on the top-right of the window changes to Administrative access.
Figure : 3. Administrative access button
