AVAYA DOCUMENTATION CENTER
Find answers to your technical questions and learn how to use our products
Administering Avaya Aura® System Manager
Creating a tenant
Before you begin
Log on to the System Manager web console as Service Provider Administrator or Tenant Administrator.
Enable the Multi Tenancy feature.
After you enable Multi Tenancy, log off and log on to the System Manager web console again.
About this task
Use the procedure to create a tenant, assign a tenant administrator to the tenant, create tenant organization, and assign elements and user provisioning rule.
You can create one or more tenants.
System Manager supports maximum 250 tenant partitions as part of System Manager Multi Tenant Management.
Procedure
- Perform the following to add a site or level 1 organization to the tenant:
- Provide the following details for the site:
Site Details: Details of the site. For more information, see Create Tenant field descriptions.
Elements: Perform the following:
To assign an element to the site, click the plus sign (+) in the Available Elements section.
Click
 to unassign an element if required. You can assign more than one element to a site. The Selected Elements section displays the elements that you assign to the site. Provide the tenant number or tenant ID and the location number for the element.
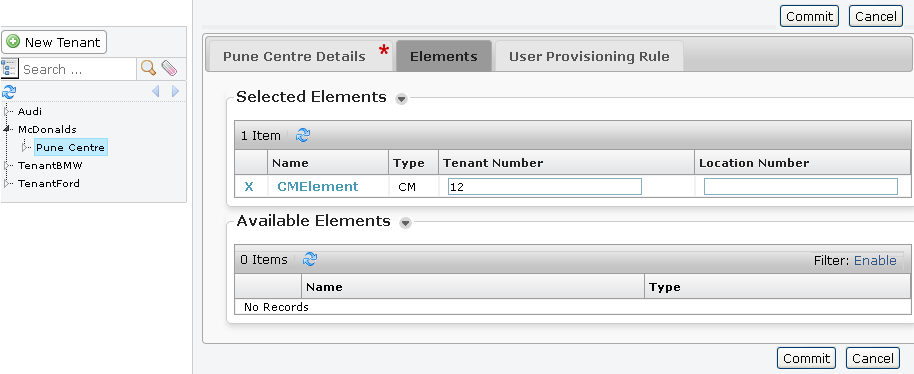
Note:The Communication Manager element that you select in the Elements tab and the User Provisioning Rule tab must be the same. If you select a different Communication Manager element, the tenant creation fails.
To assign permissions to the tenant administrator, click the element, select the permissions on the Permission Mappings page, and click Commit.
For more information, see the
Managing roles
.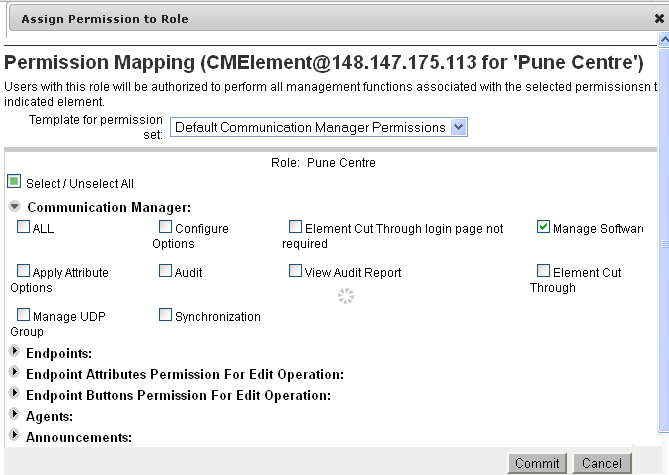
Note:For Communication Manager, do not provide permissions for Audit, Element Cut Through, and Synchronization functions.
User Provisioning Rule: Click the plus sign (+) in the Available User Provisioning Rules section to assign a rule to the site. Click
to unassign a user provisioning rule.
- Provide the following details for the site: